so, the 3D pebble model! i had it in mind to write a blog post about it since the start, but i foolishly didn't think to take notes throughout. but i did take screenshots! plenty of those. i'll do my best to try to recall the specifics i had in mind throughout.
this blog post uses a few technical terms, i thought it'd be worth it to explain them here:
- vertex (singular) / vertices (plural) - the individual points of geometry on a 3D model where the lines meet. 3 or more vertices connected make a polygon
- mesh - vertices connected by edges, together making up a more complex 3d shape. a model is usually made up of multiple meshes. for example the glasses on my model are a separate mesh from the body
- bevel - adding sloped edges to a shape, doing this adds extra geometry.
- extrude - extend an existing shape by "pulling" out from a part of it, creating new geometry in the process
- subdivide - adds geometric complexity without changing the shape. for example, a square can be subdivided once to turn it into 4 smaller squares.
please don't quote me on these i'm just doing my best to explain them in a way that'd make sense to someone who doesn't know much about 3d
getting started
i don't remember what originally inspired me to get started on this, but i've been wanting to get into making 3d stuff for a while. i wasn't entirely new to 3d getting into this - i took a blender class at school, made an (admittedly really bad) animation as a final project for school, and i messed with sketchup a lot when i was way younger. but i've never made a character model, or anything organic really. i did try modeling myself in blender this one time when i was a yinglet, but i really struggled with the sculpting tools and gave up on it pretty quickly.
i'm very thankful to forest / rowan, who helped me a great amount with getting started and answering some of my questions as i went. it showed me a modeling process that involves starting out with a cube, adding modifiers to smooth it out, and then editing / adding individual vertices as you go. i felt a lot more comfortable modeling this way than sculpting, and it gave me a solid base for getting started.
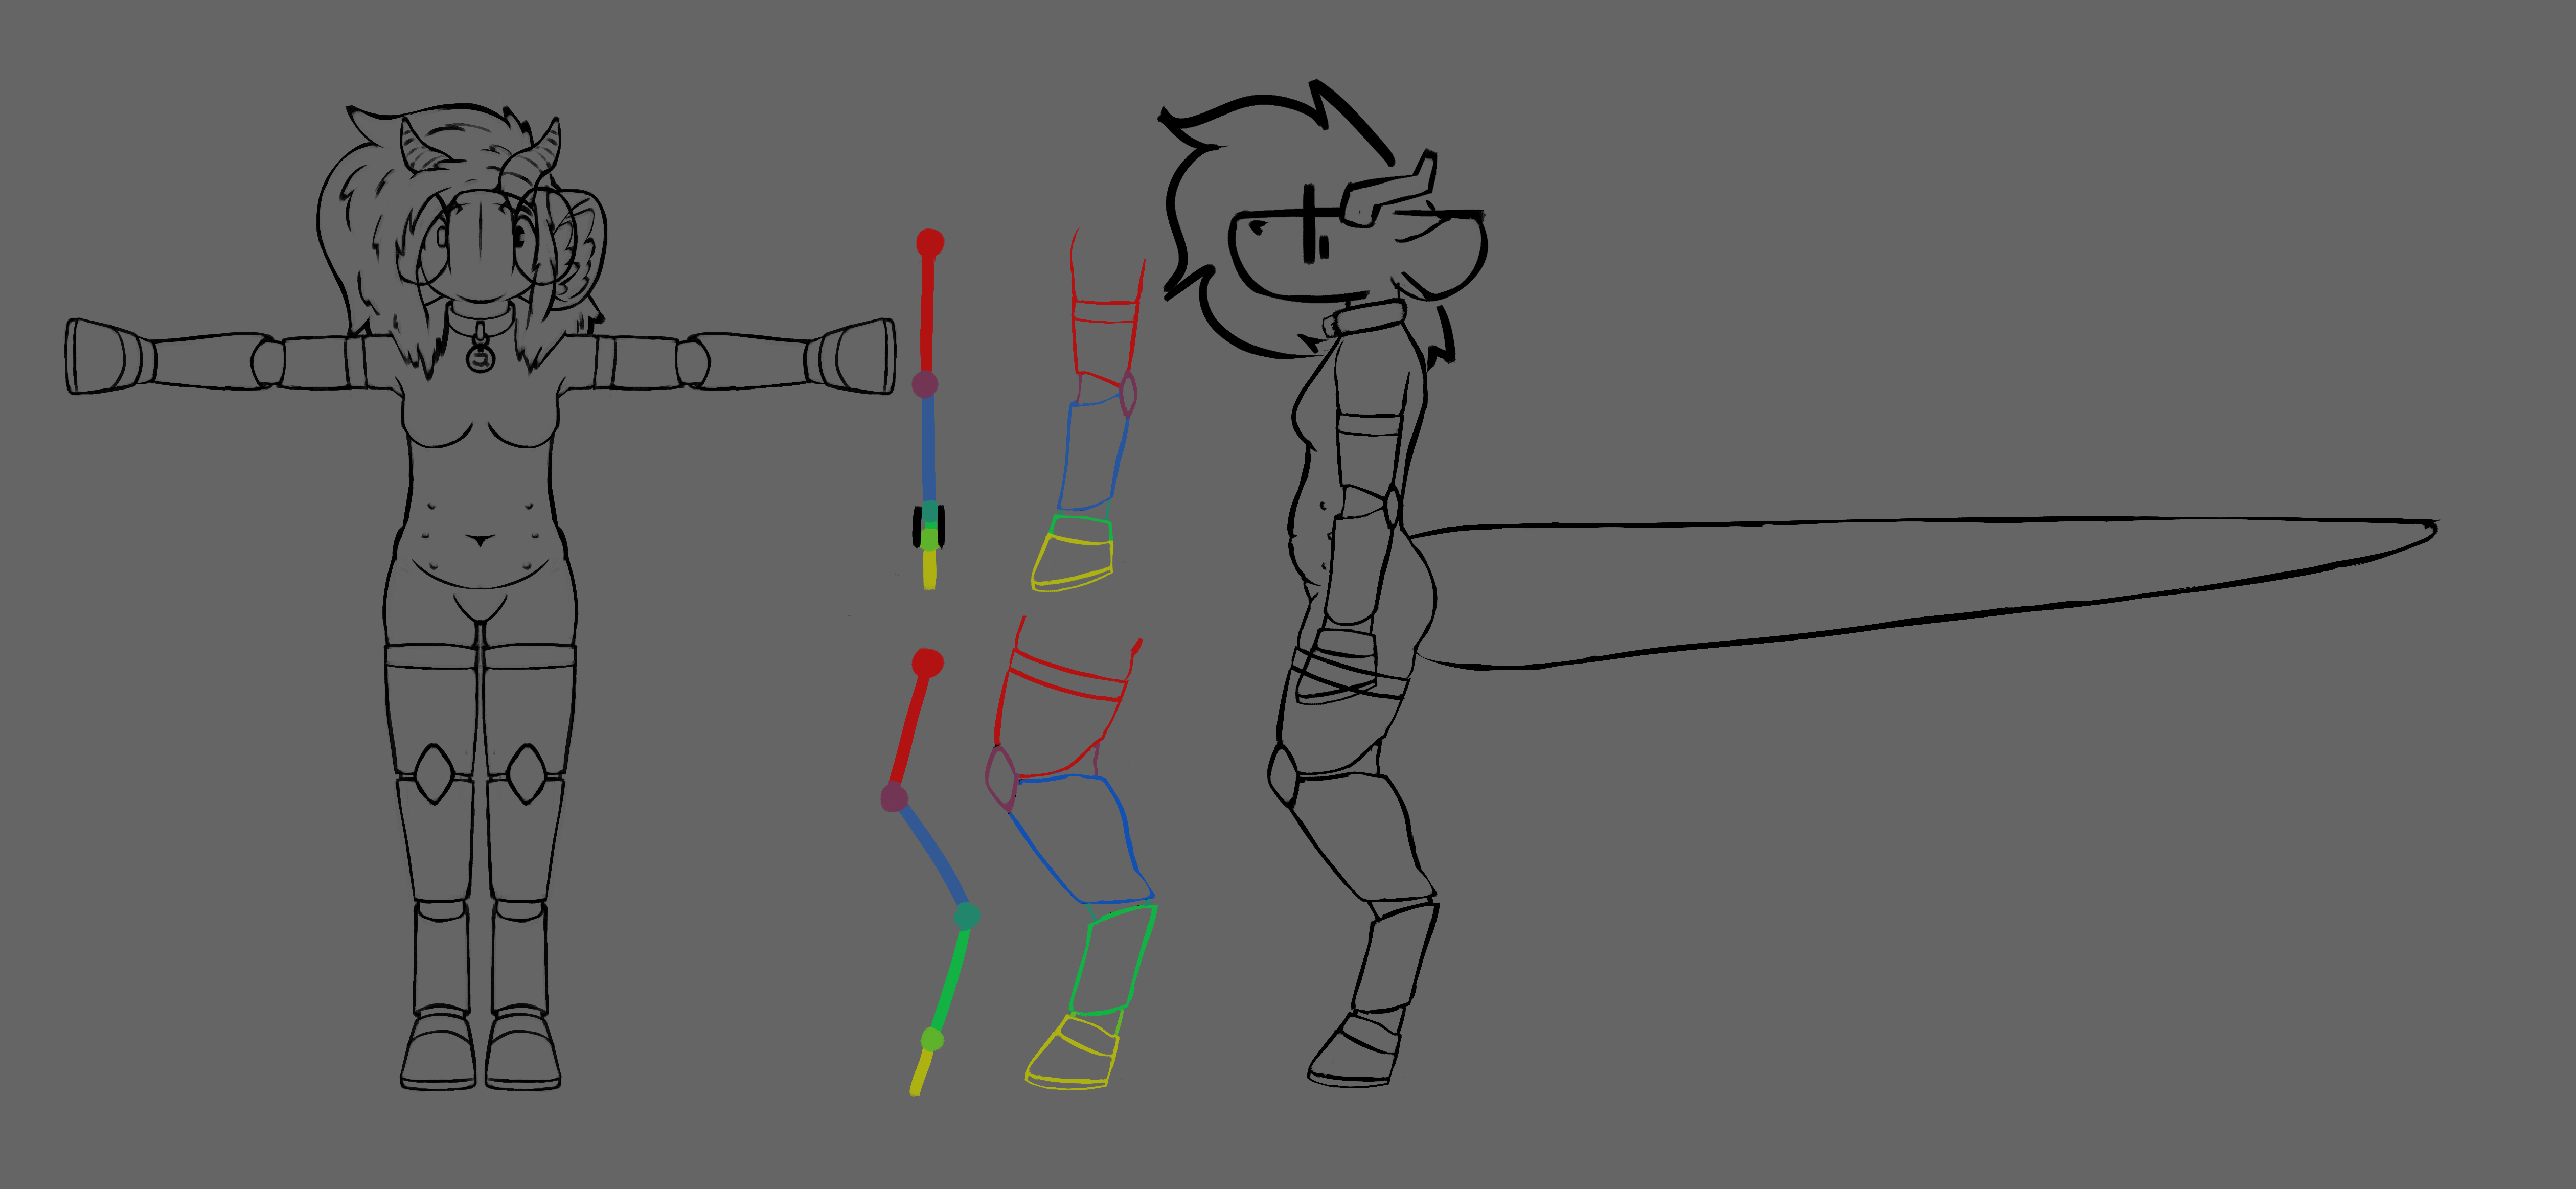
at first i just modeled the general head shape. i used large polygons and tried not worrying too much about the details. after that was done, and i knew i was serious about this and wanted to work on it more, i made a simple front / side view reference drawing of pebble that i'd use as a basis for the model. my knowledge of anatomy was very helpful here, as well as using plentiful references. figuring out how to make her not look dumb from the front was .. difficult, and i don't think i quite managed it. but that's ok, i think it adds to the charm. i added this reference image to the blender document, and got started modeling.
broad strokes
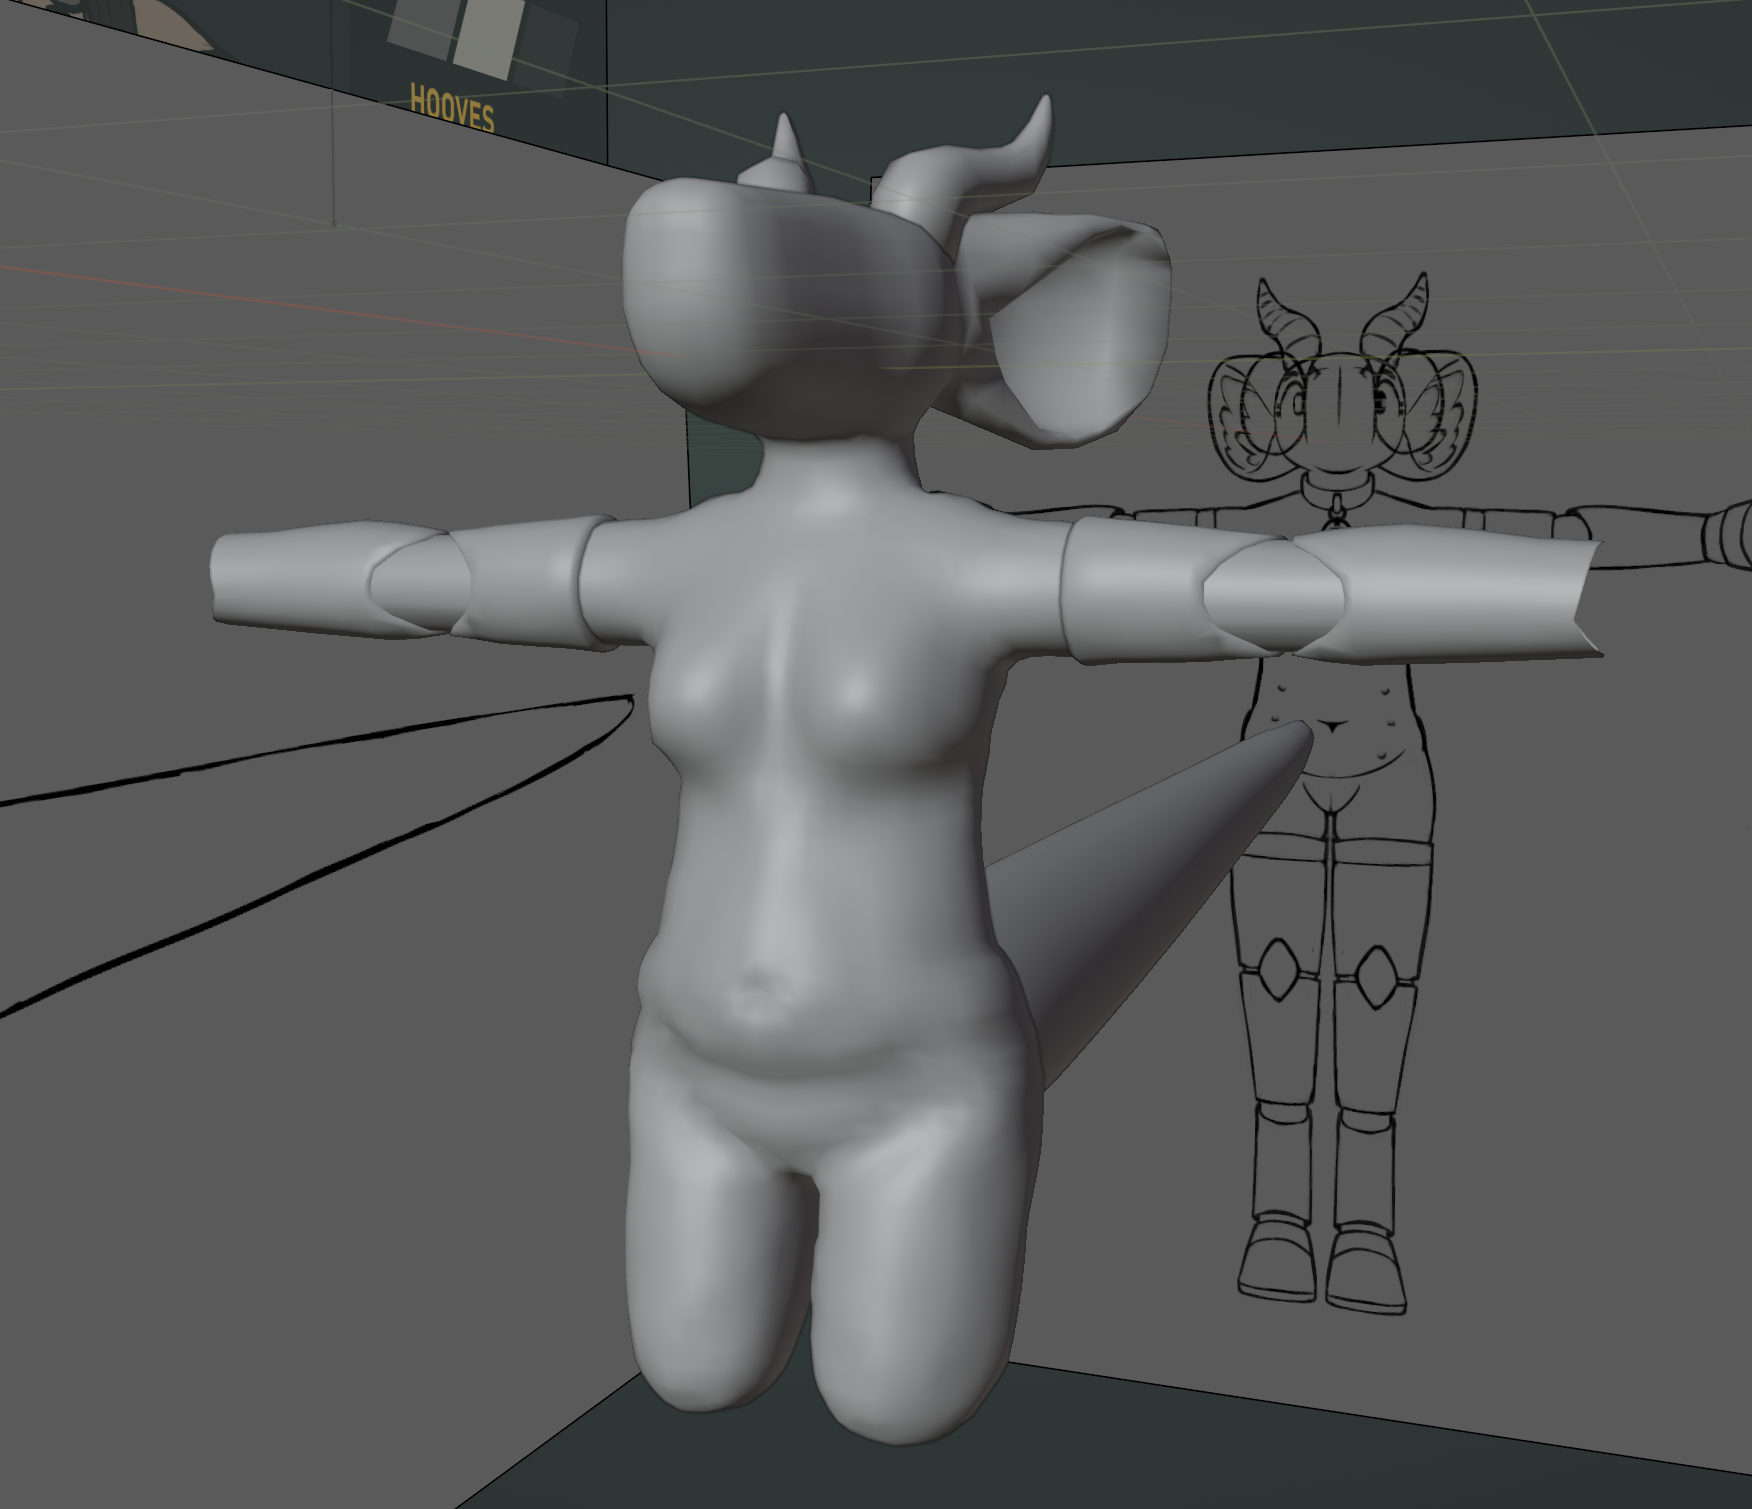
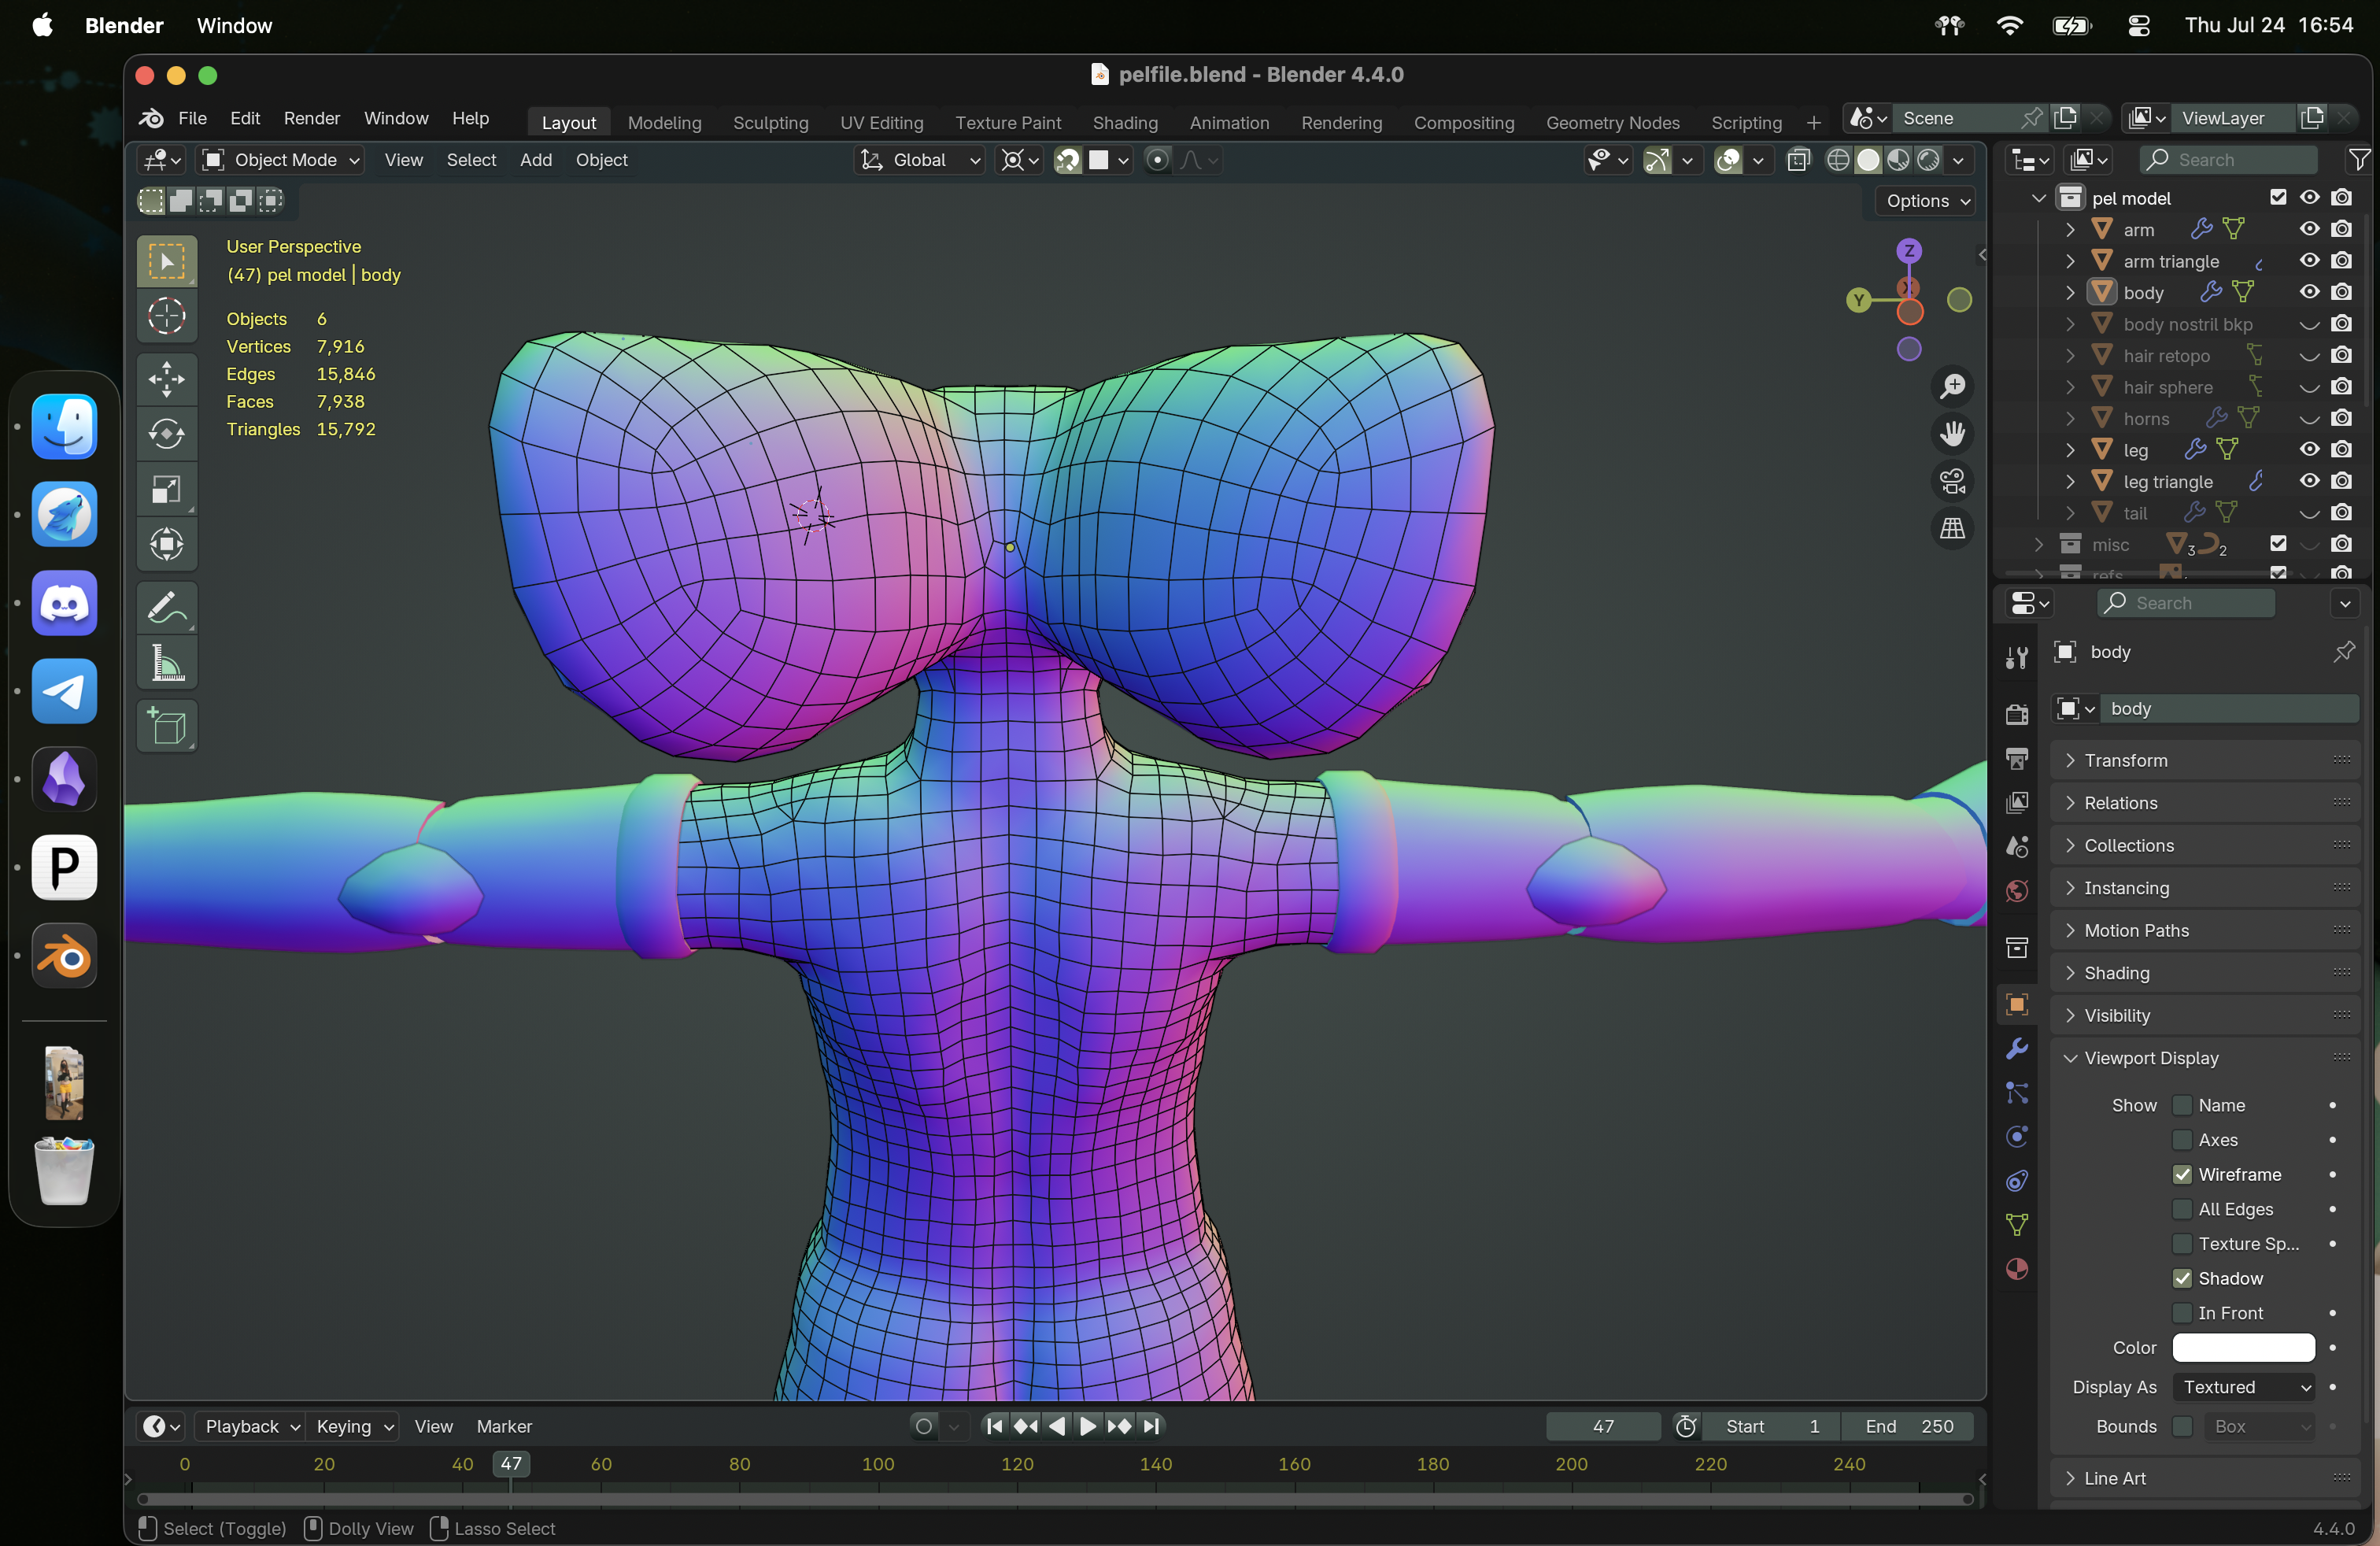
i added a cube to the scene, beveled it, then moved all the vertices to match up with the general shape of the sketch from the side and the front. i extruded from there, using broad strokes, matching up the vertices to the shape of the sketch. this gave me a very boxy, very rough shape that vaguely resembled pebble's main body. i then subdivided this mesh, basically adding extra details and geometry, then positioned that geometry along the sketch, as well as rounding out the edges using my anatomical knowledge. i wish i took more screenshots during this stage, as i feel like it was the most important, but the first screenshot of the model i have is this:
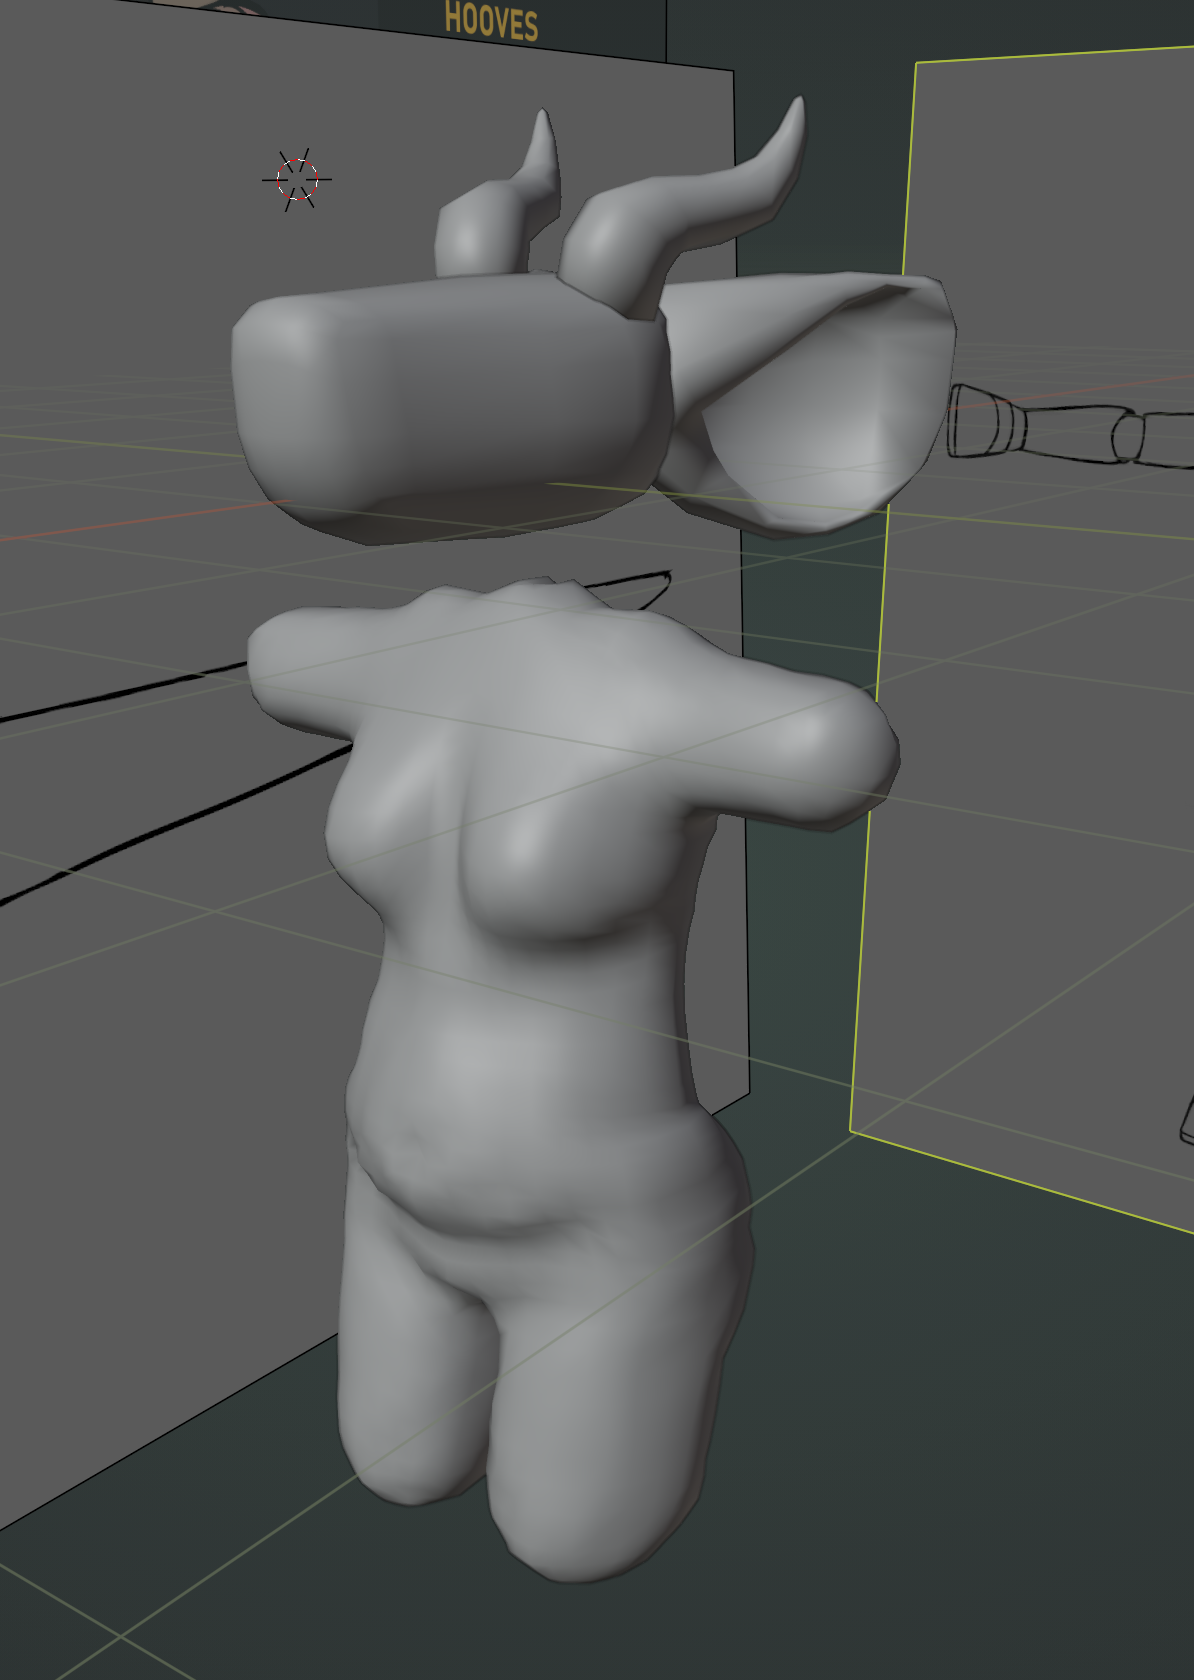
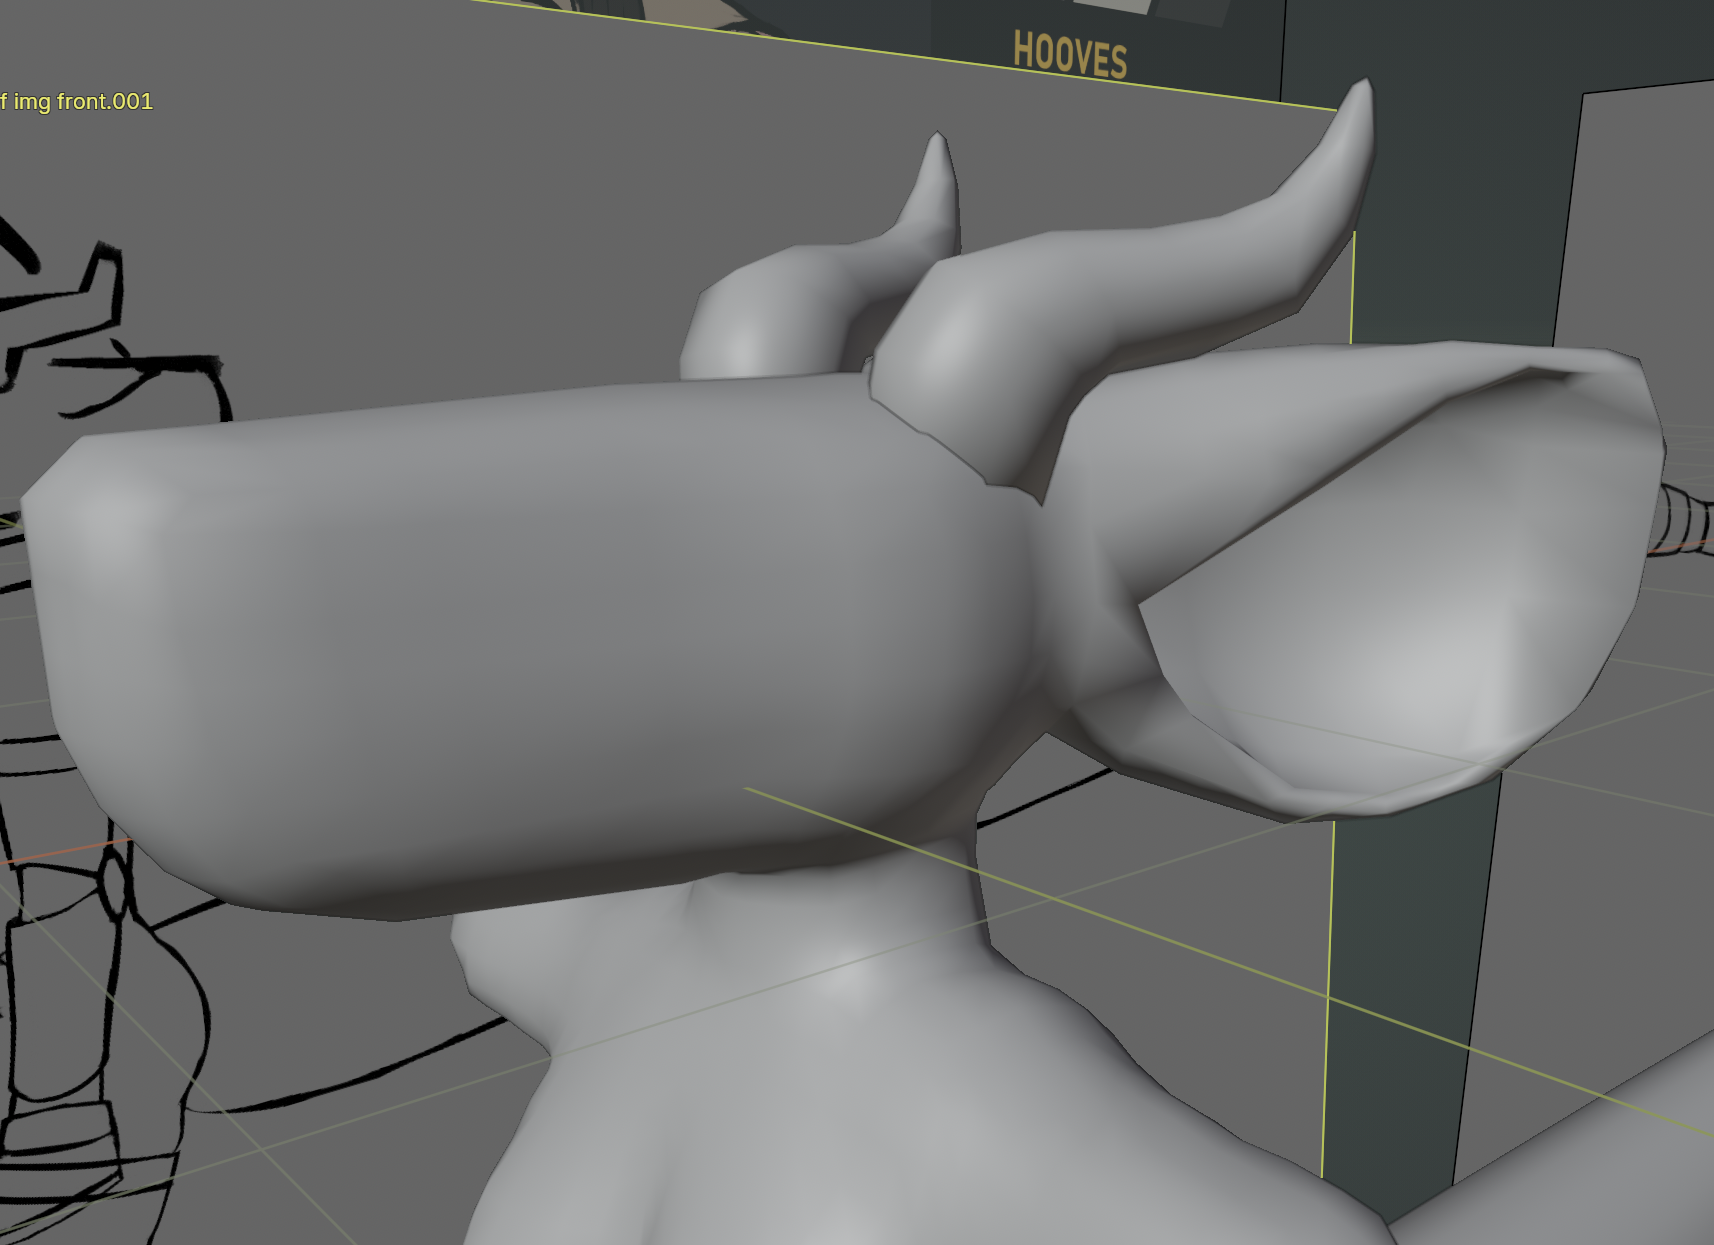
i had the general shape of pebble's main body modeled out. more details needed to be added, the body needed to be connected to the head, as well as the ears to the head, but it was a start! the next step was to connect the separate meshes together. it was relatively simple, just tedious: i had to cut out the parts of the meshes that intersected together, then individually connect the vertices on both objects, adding extra geometry where things didn't quite line up.
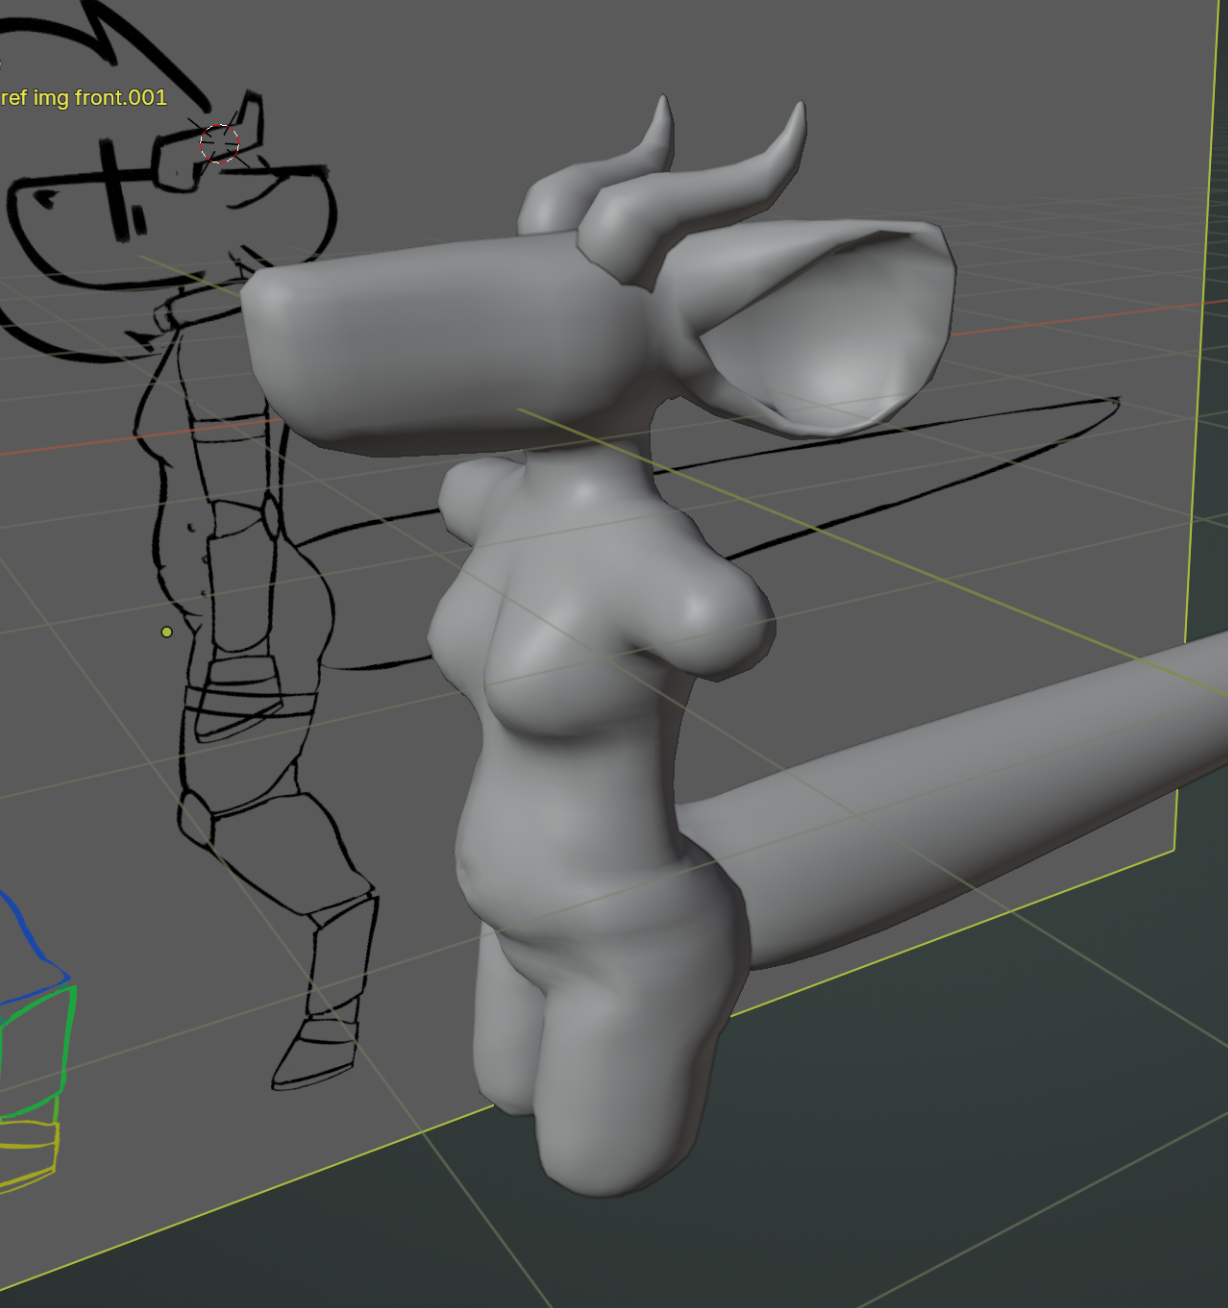
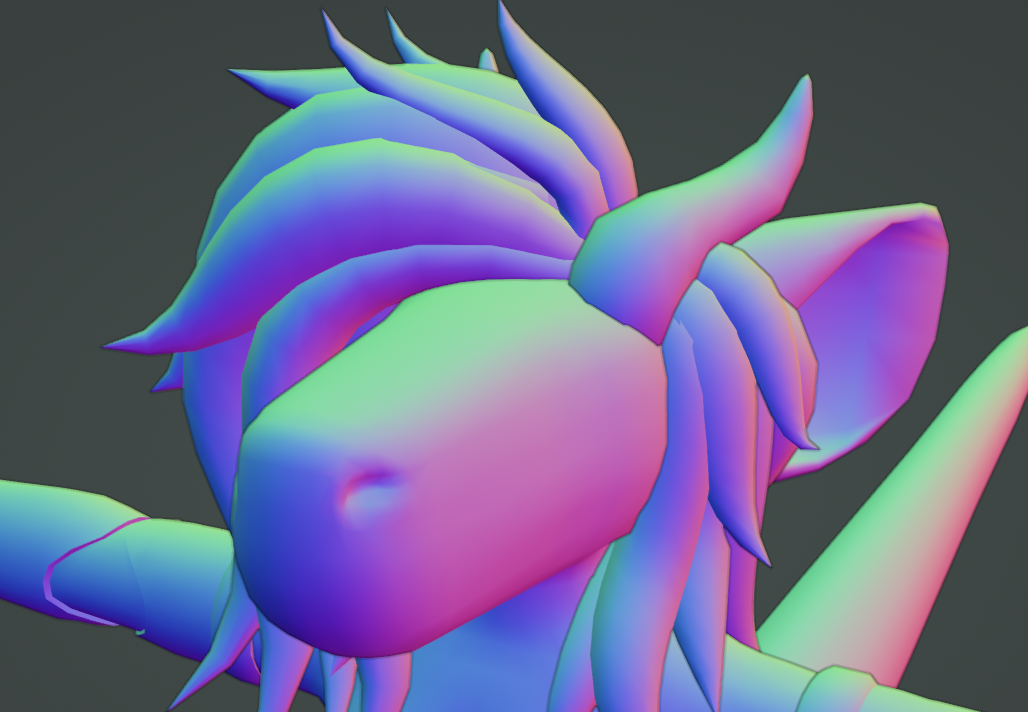
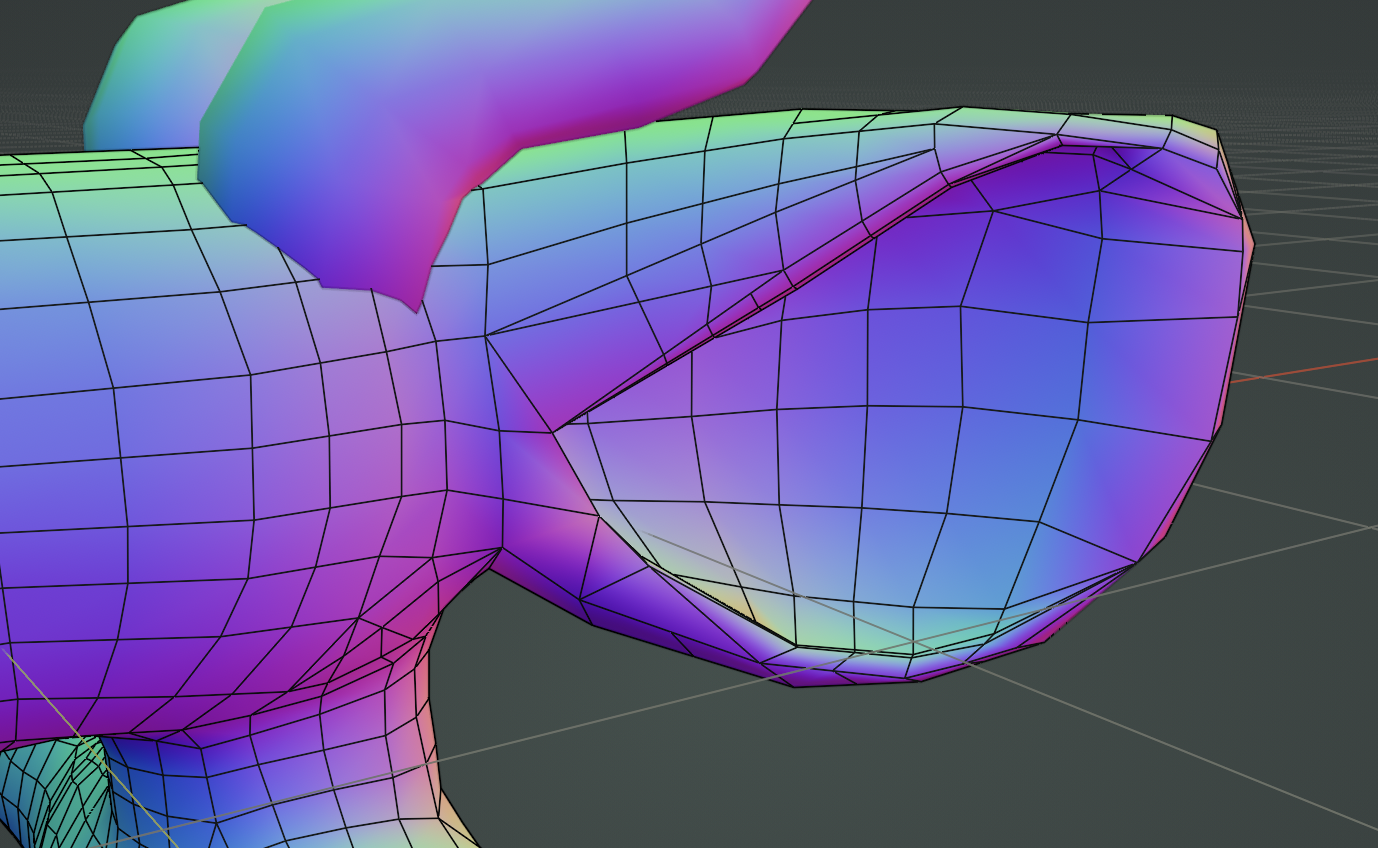
you might notice that the lighting on the ears looks very rough - that's because the initial geometry of the ears was really bad. things connected very poorly, the density of the vertices wasn't even throughout and they used a lot of triangles - which is apparently bad, i learned later that you want most of the geometry to be squares for it to deform better. but ! it was important not to get stuck reworking things at this point of the process. make it first; make it good later.
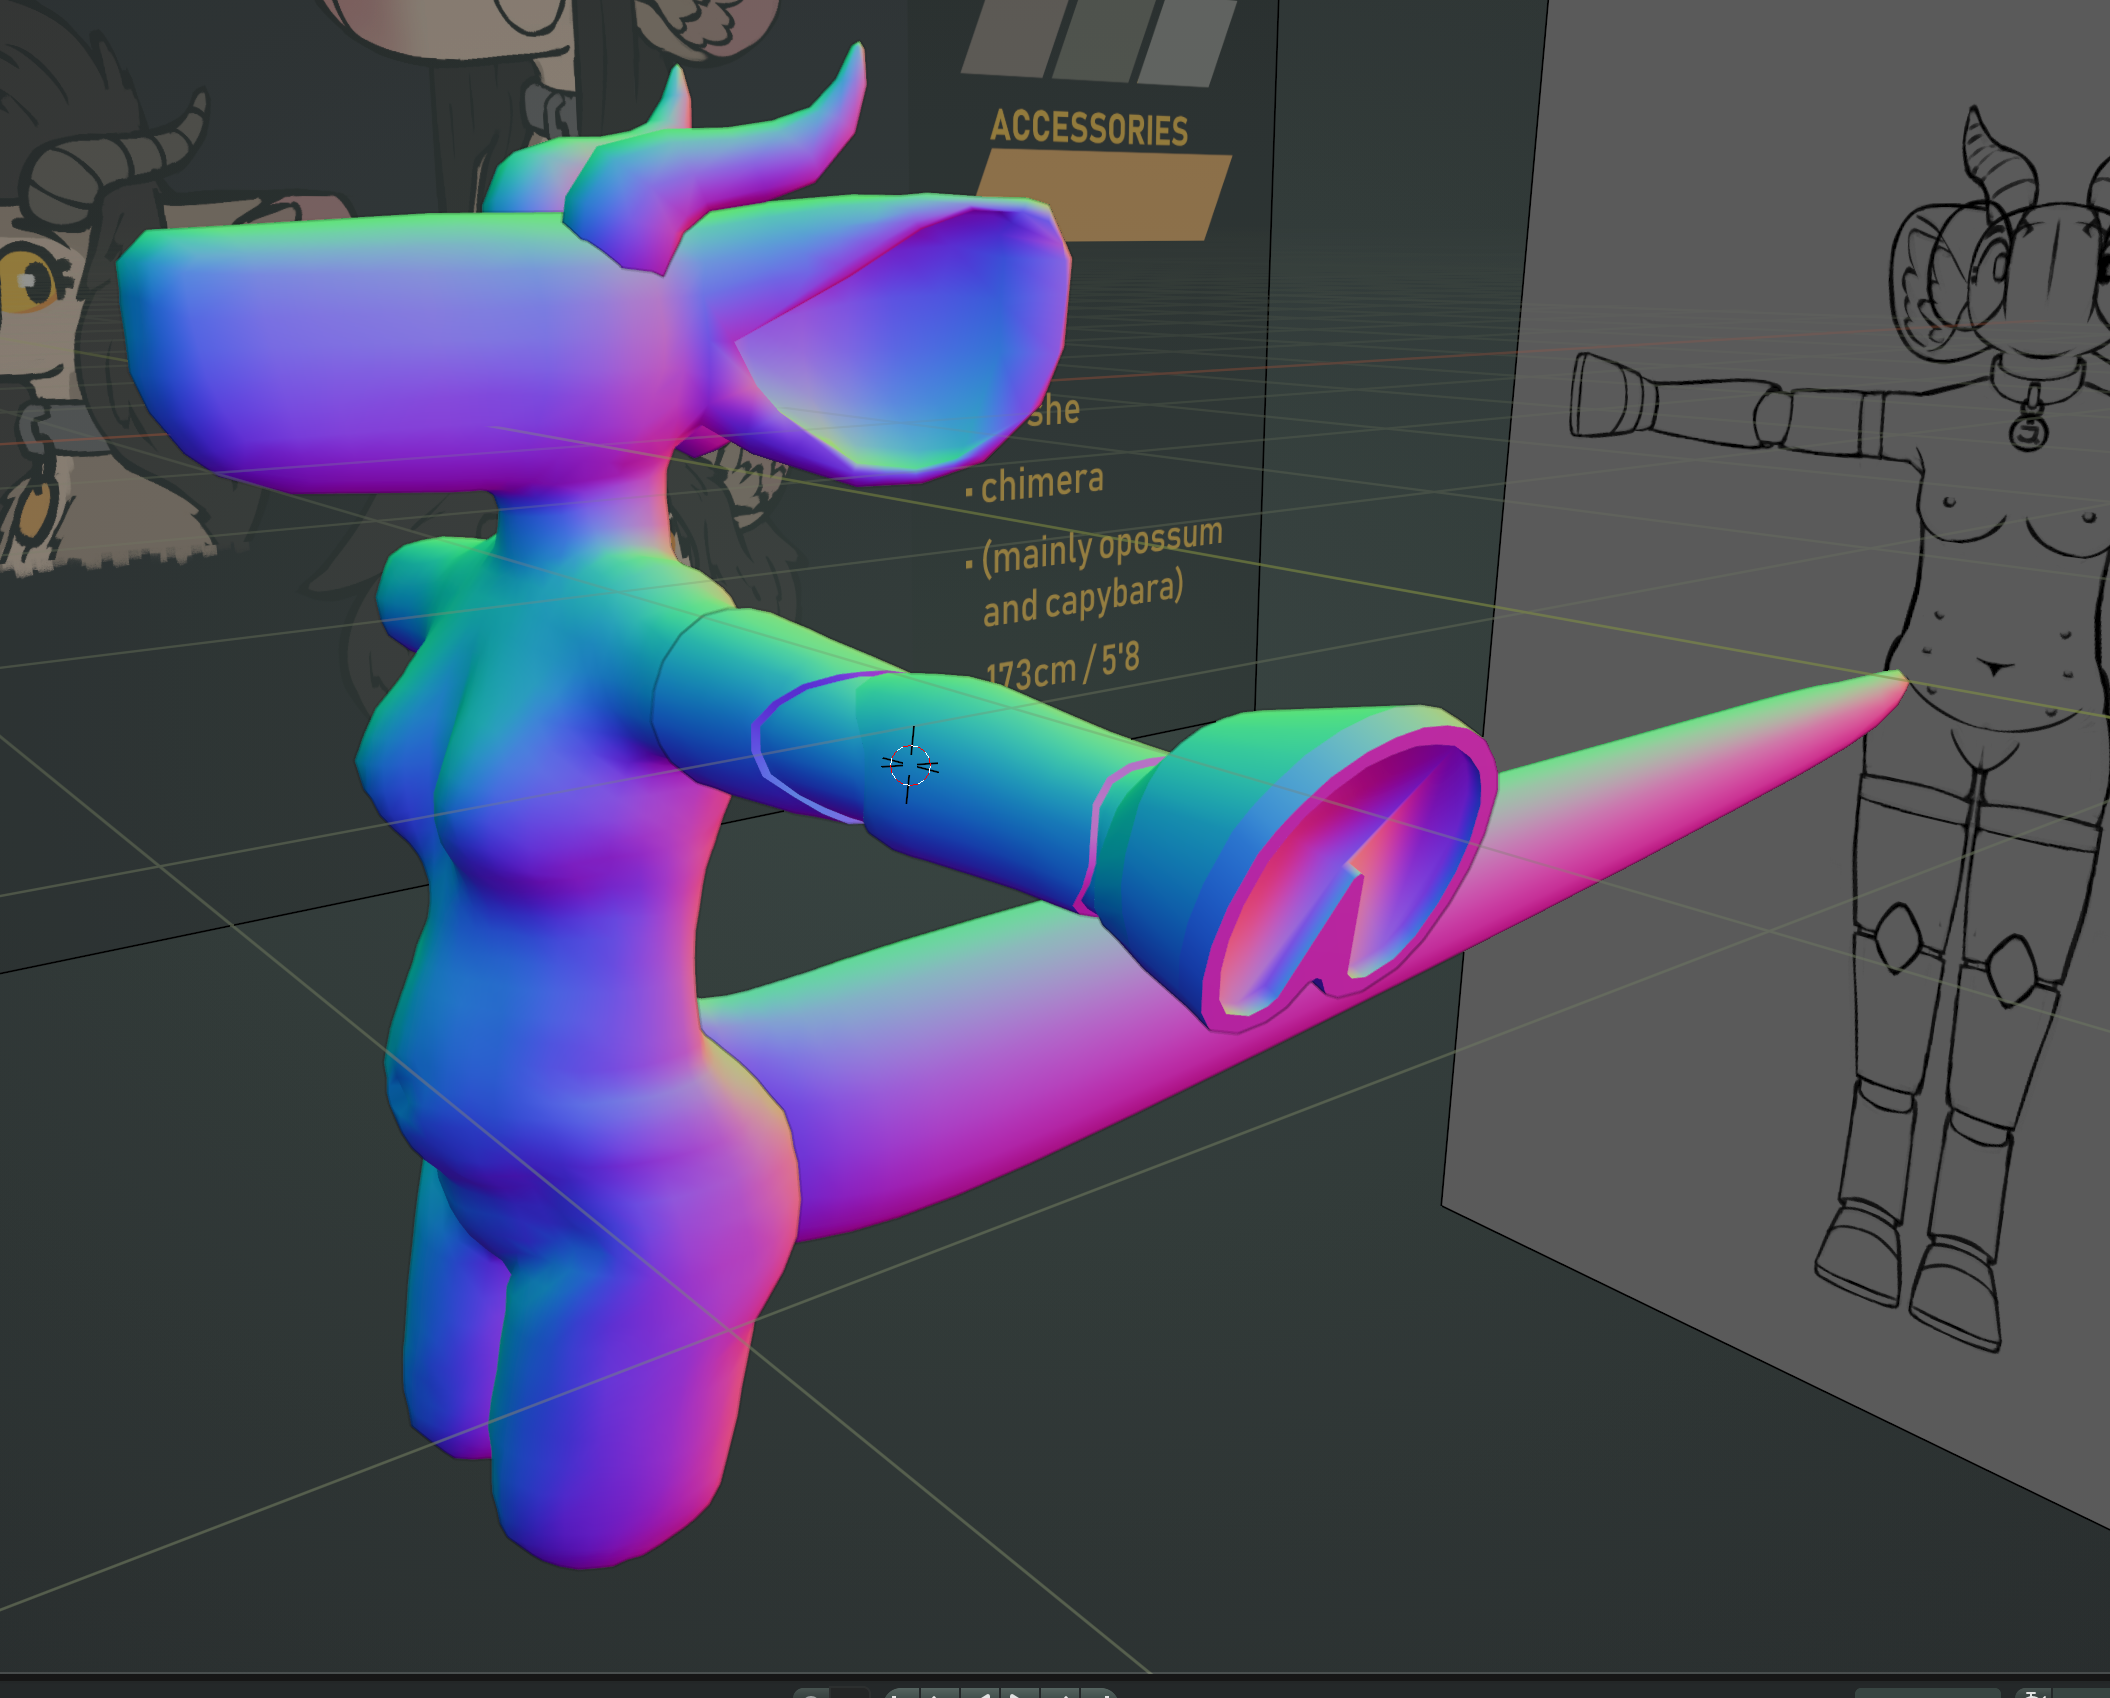
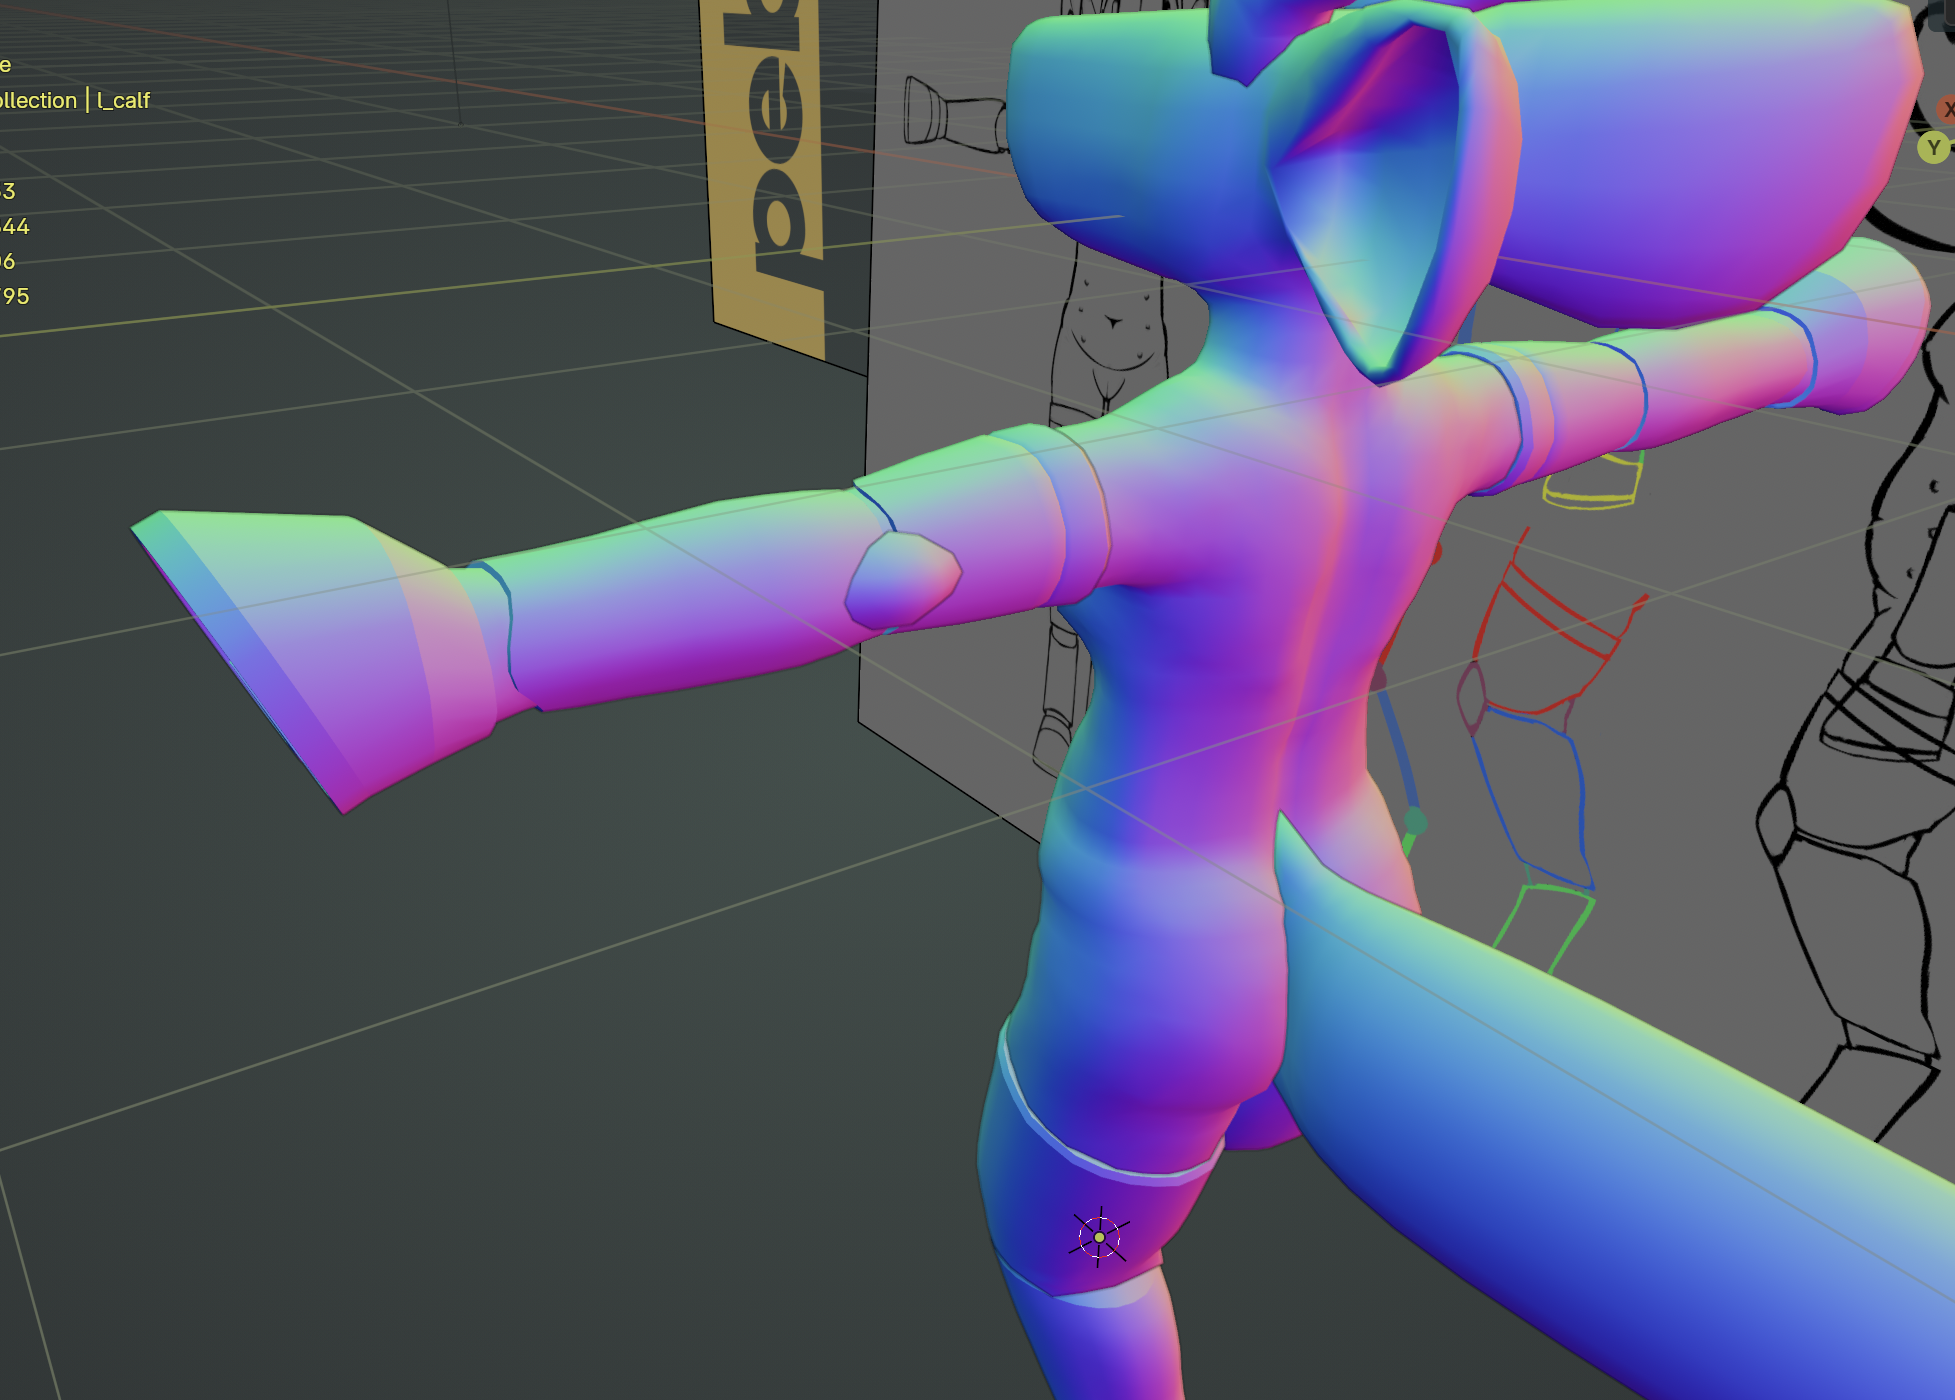
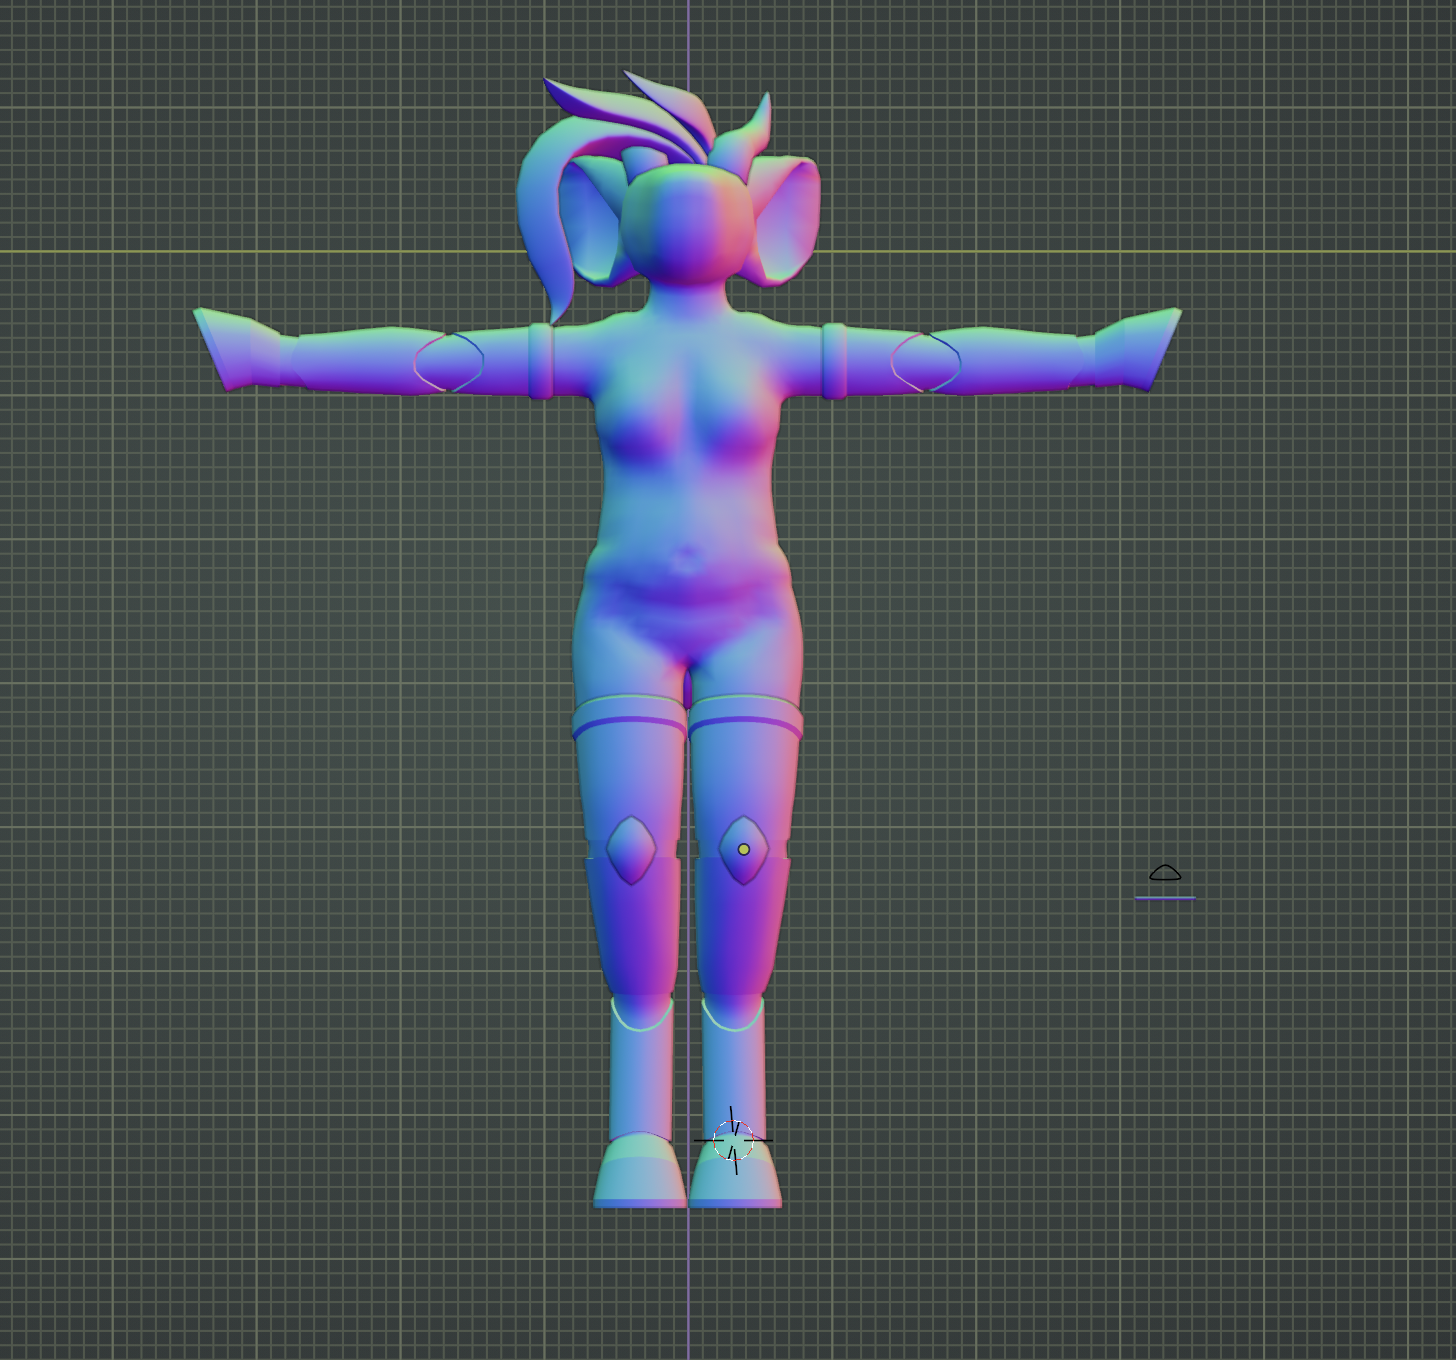
next up: the arms! same as with the body, each segment started out as a cube, which was then stretched and extruded to match up with the sketch from the side and the front. after the general shape was done, i subdivided it, then adjusted the extra geometry. this step was definitely extra difficult because the limbs are mechanical and the segments ideally shouldn't clip together when bending, but i tried to not worry too much about it at this stage. i connected the segments using very basic geometry, then it was onto the hooves.
i have 3d printed wearable hooves that i used for reference for these. it was very helpful to be able to look at and rotate an object in the real world as i was modeling. you might notice that these look different from the hooves on the final model, they don't have the soft underside and they're way less detailed. this is mainly because i didn't have a defined look for the underside of pebble's hooves at this point, i drew them differently on each drawing. later when i decided on a fixed look i'd rework them.
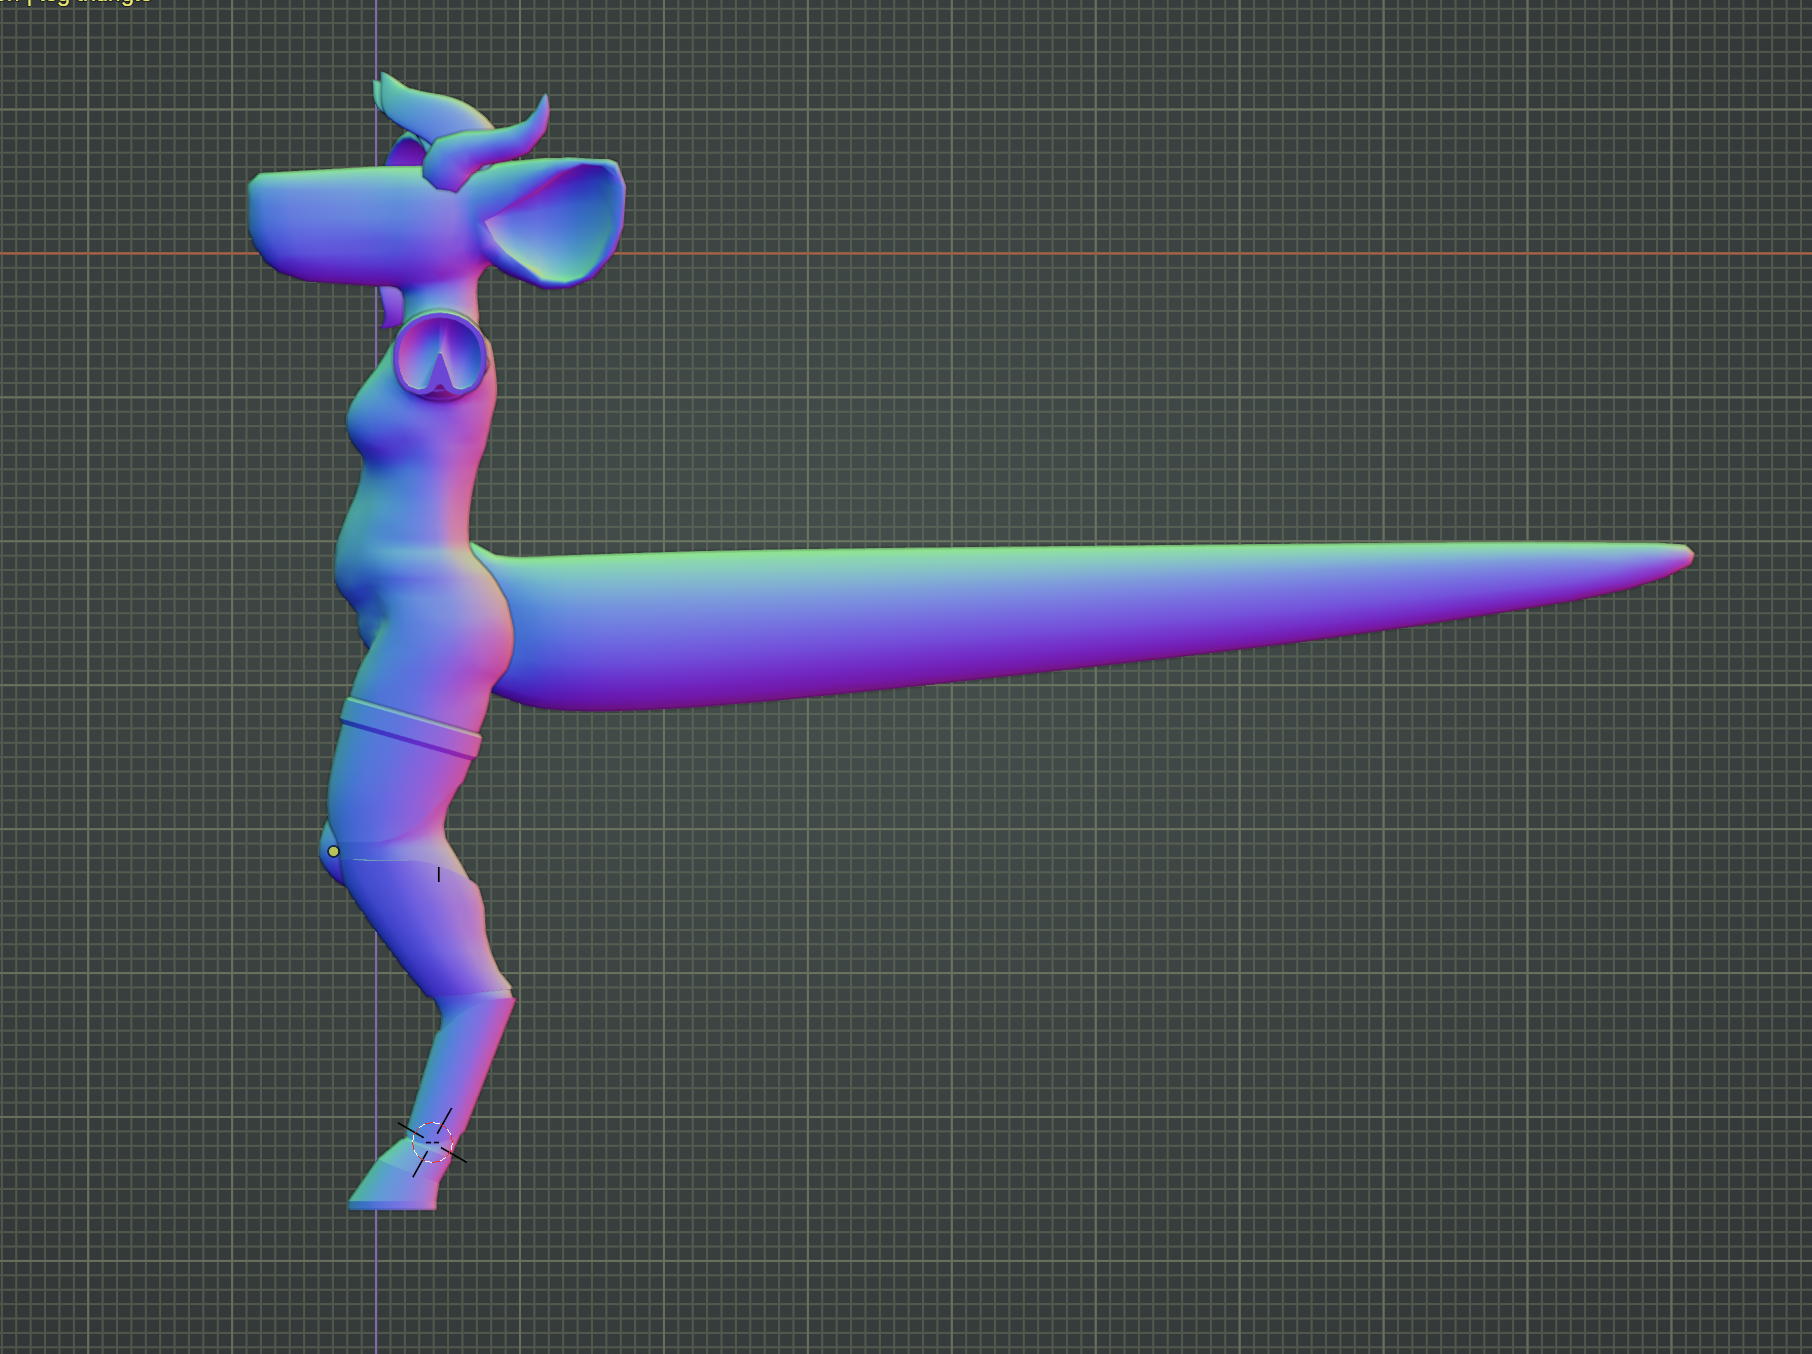
i also modeled the tail at some point, it's basically just a cylinder that gets narrower towards the end. i later squished it a bit to better resemble a tail shape, but its geometry might be the simplest part of the model. the bit that was really difficult to get right was the bit where it connects to the body. the tail is very large and wide, so figuring out a seamless way to connect it to the main body without it looking weird or obscuring the butt too much took a while, but i'm really happy with what i came up with
the legs came next, being modeled in the same way the arms were. the knee caps were copied from the arms and just stretched out a bit to fit. the hooves were also copied; it's important to me for reasons that all her hooves be the exact same shape and size, so i ended up having to adjust the legs a little bit to be able to fit the hooves next to each other without clipping.
the hair
i spent a while adjusting all the parts of the body, fixing up little details, smoothing out the geometry where needed, pretty much just doing what i could to not have to do the hair. i was around a month into the project at this point, and the body was done! and it looked so good! i was really happy with my progress so far.
but oh gosh, the hair. i was dreading getting to this part pretty much all the way through, trying to think of a way to model her hair faithfully to how it looks in 2d. but.. i take a lot of creative liberties with how i draw her hair in 2d; it's not consistent depending on what side / angle you're looking at it from. and there's so much volume to it!
i tried out a bunch of different approaches. i tried modeling the hair as one block like the other parts of her body a few times, but i realized that wasn't going anywhere. i tried adding lots of individual shaped "strands", but with how much volume there was to her hair that also wasn't going anywhere. i asked others for help, and i received a bunch of suggestions on how i could do this, which i really appreciated. but none of the approaches were seeming like they were gonna work. i was really struggling with this, and it resulted in me putting the project down for a while.
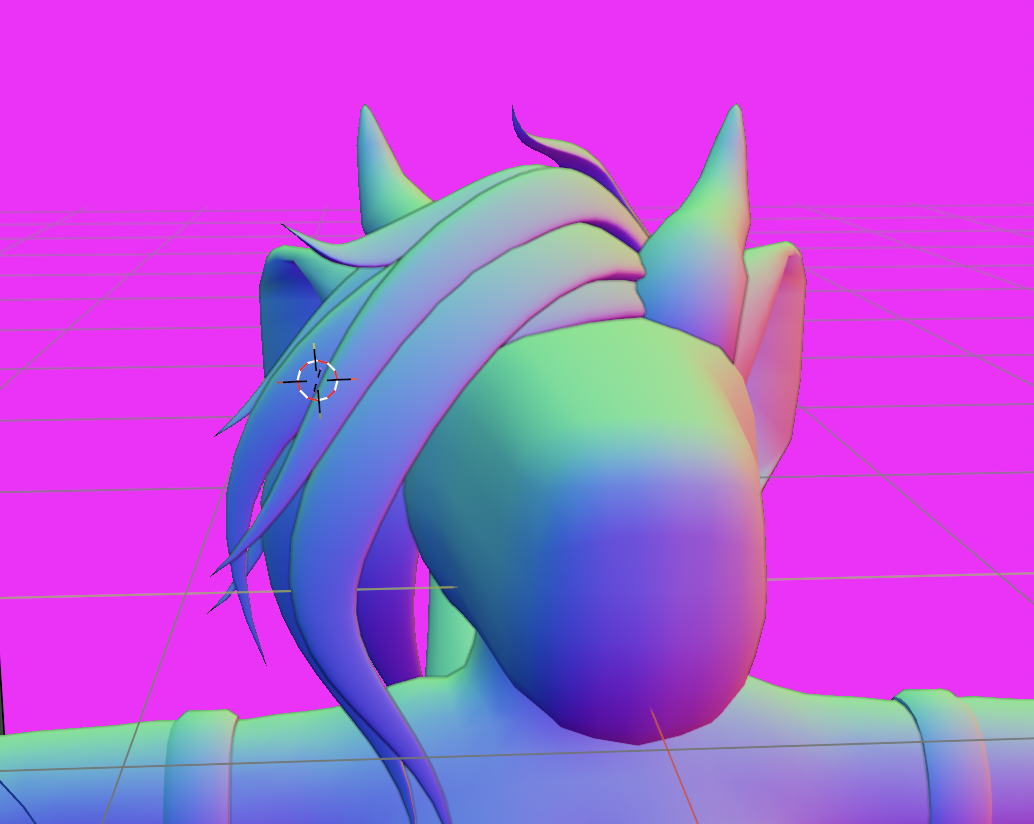
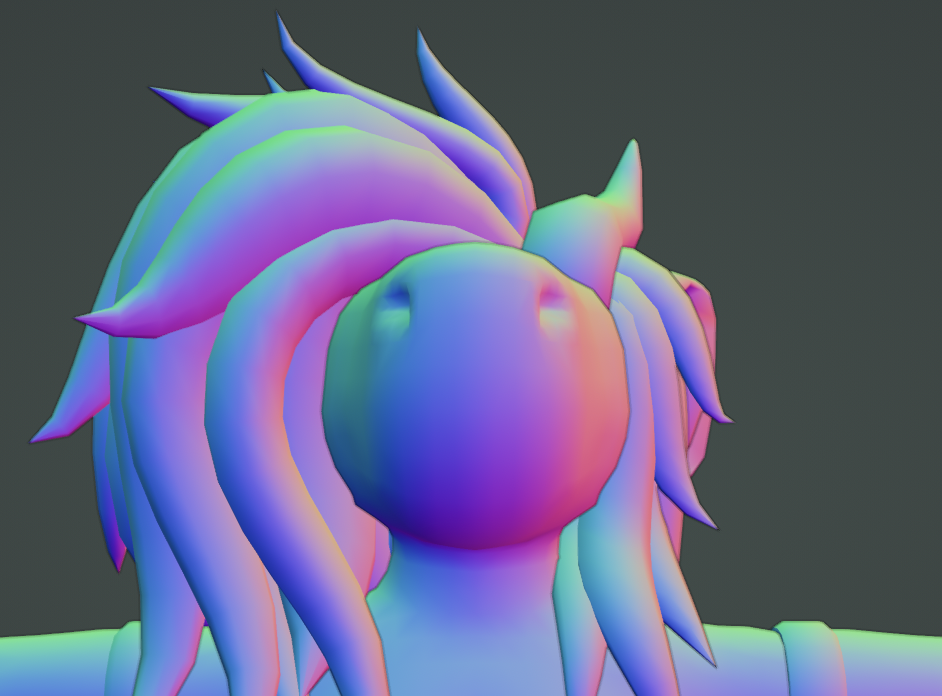
it took three and a half months, but i was able to figure something out! i went with the approach of using individual strands, but i made them much larger. i gave up on trying to follow the silhouette of the sketch, instead going by vibes alone. adding strand after strand layering them, mixing up the sizes, until .. i was done! i did it! once i settled on this approach i had the hair done in a day. and it looked so good! i was really happy with the result. it looked exactly how i imagine my sona's hair in my mind, despite only being about a quarter of the size compared to the sketch. like, look at this:
after completing the hair model, i added a few extra details, like the belly button and nostrils.

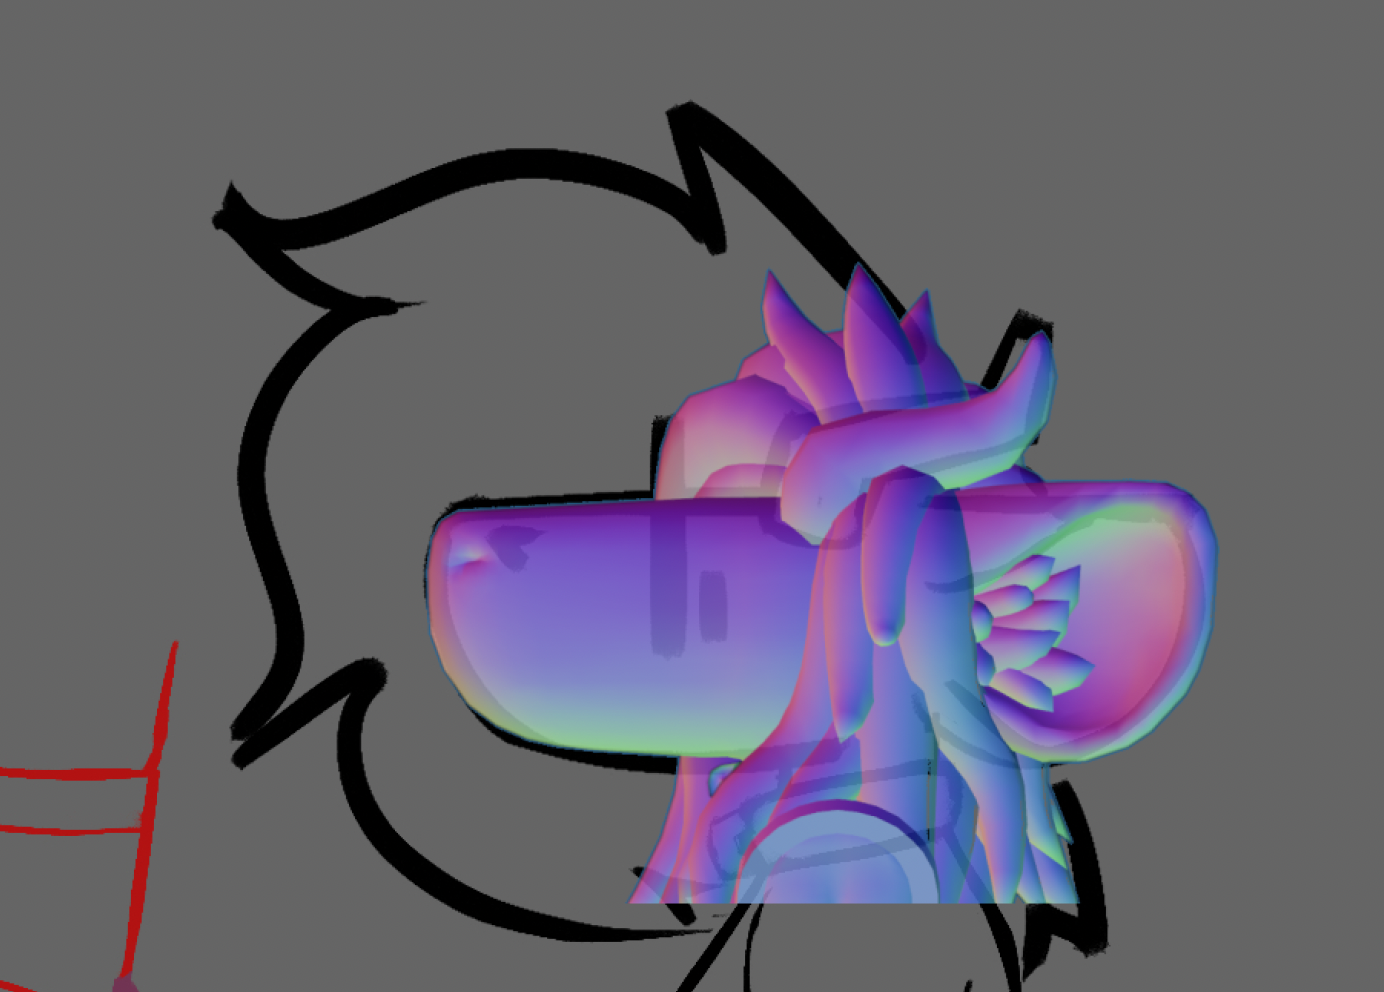
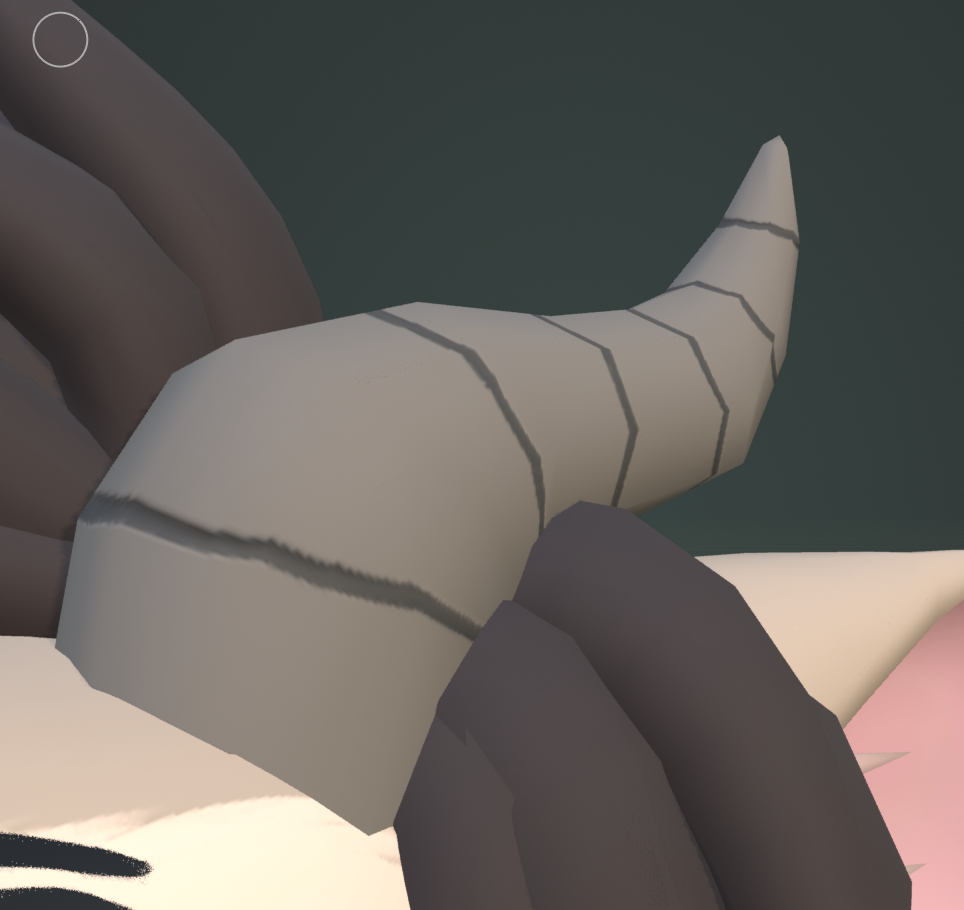
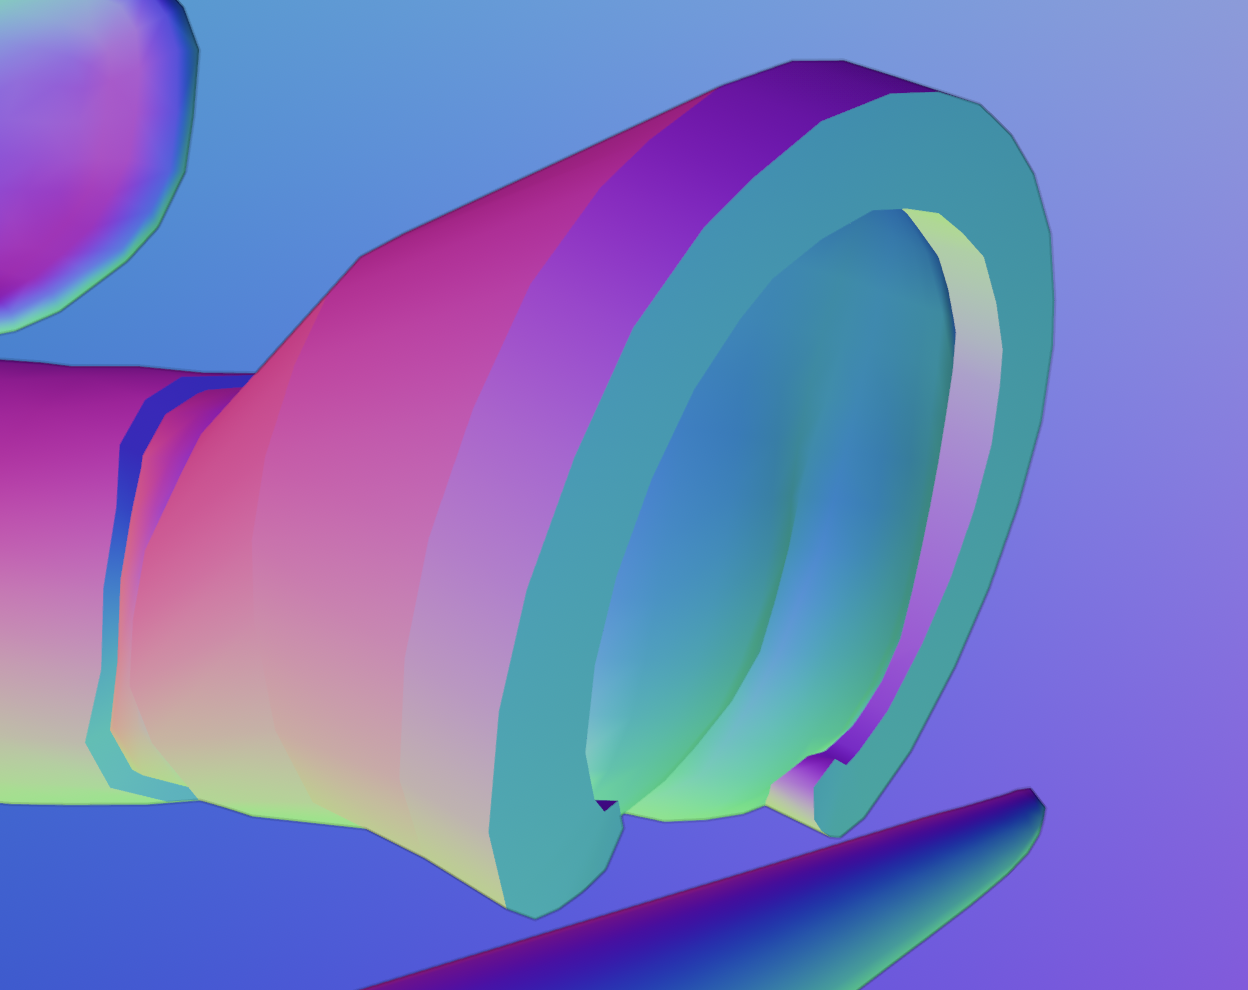
after that, i decided to redo the topology of the ears using a process called "retopology". what that involves is basically making a whole new mesh on top of the existing one, except with better geometry. here, compare:

anyway, that was that! the model, done! now onto the textures
textures & onward
we're now 4 months into the project, and the next step is UV unwrapping. what this is is basically taking every part of your model and deciding where on the texture image it'll go. you mark the seams where the individual pieces of the texture will part, then "unwrap", then carefully position everything how you want it. i don't really have pictures of the process because there's not much to take pictures of, but i can show you how things ended up laid out on the final texture!
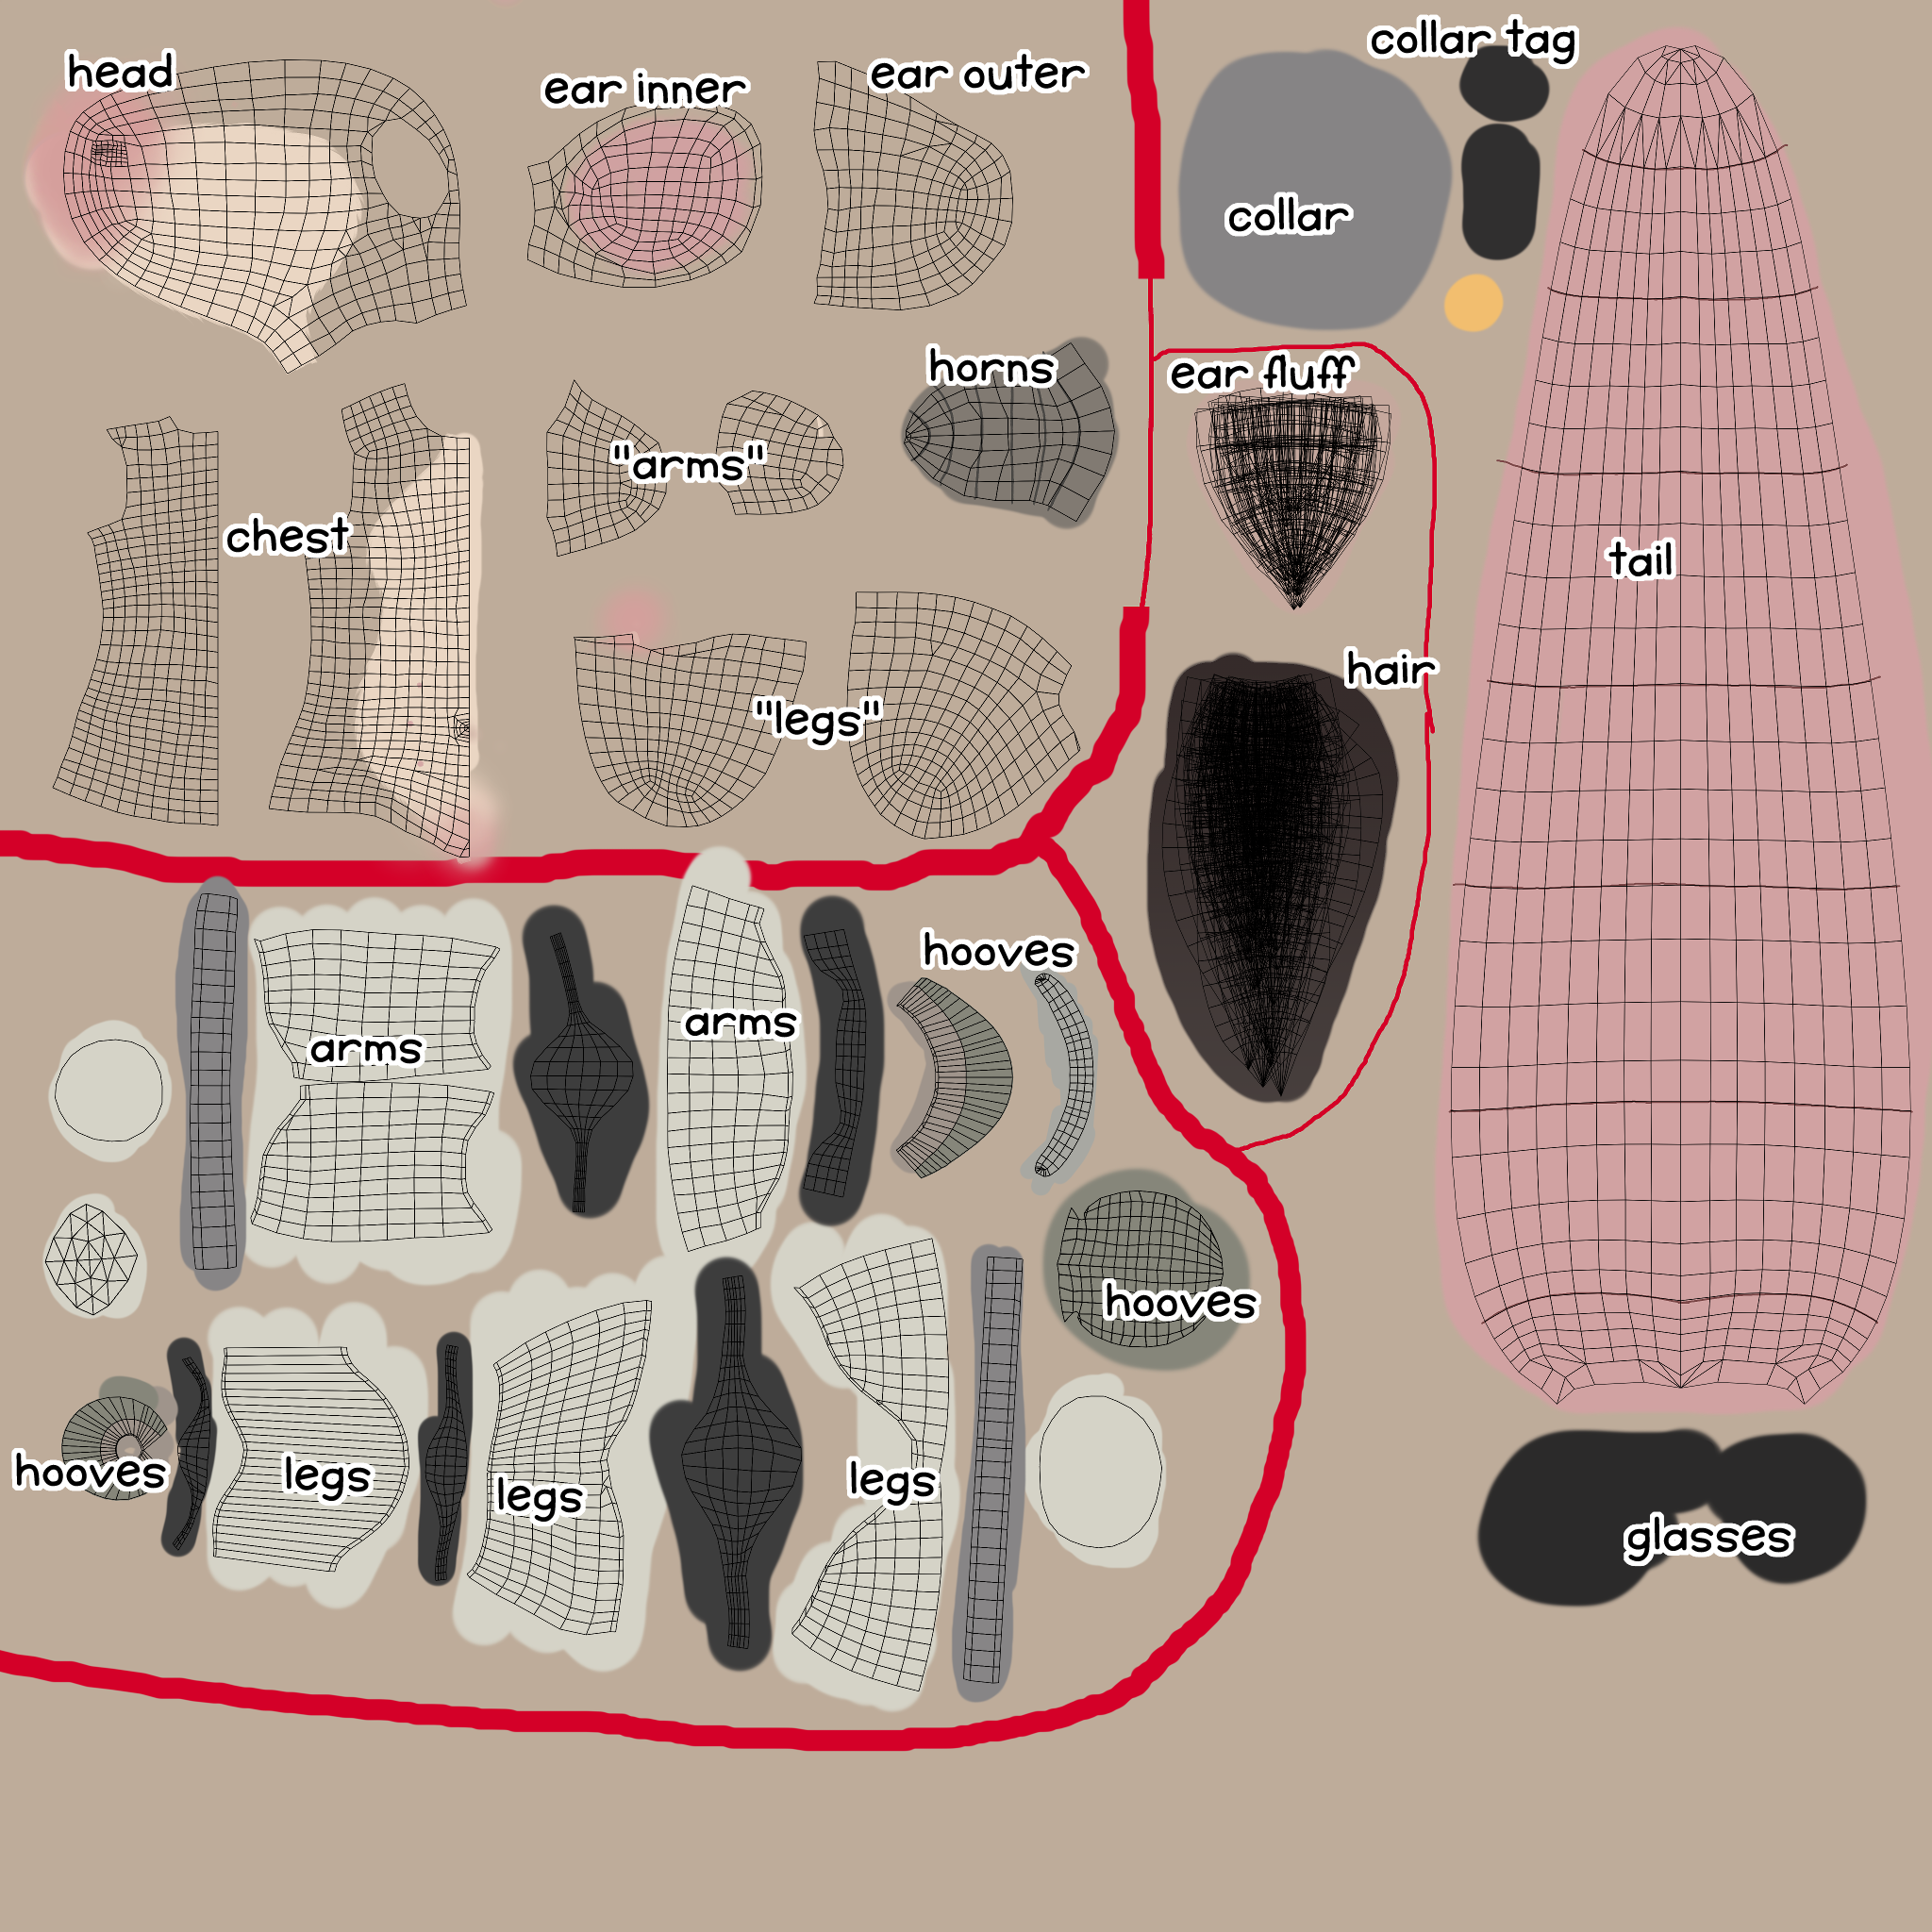
as you can probably tell from the look of the texture file, i painted everything by hand. i had done this a few times before while customizing vrchat avatars for myself, so it wasn't too difficult, but doing this for the first time can be very disorienting. aligning things in 3d space while doing it this way was the most difficult. i overlaid both sides of the model on top of each other, which made things simpler because i only had to texture one side. this results in some limitations, like not being able to "bake" lighting into the texture for things like uploading to sketchfab, but i can live with that.
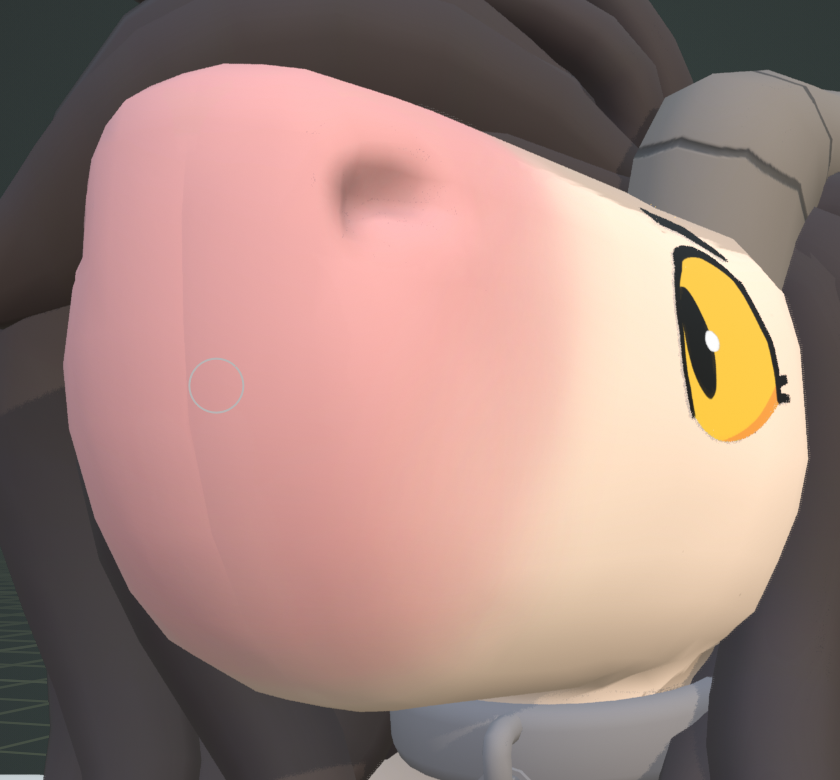
i decided to do the eyes by having two meshes "floating" above the actual face mesh, then swapping out different 2d textures for different facial expressions. i felt this way of doing it would fit my art style best. for now i just used a static texture, but later i'd have everything separated so i could easily toggle between expressions and move the iris.

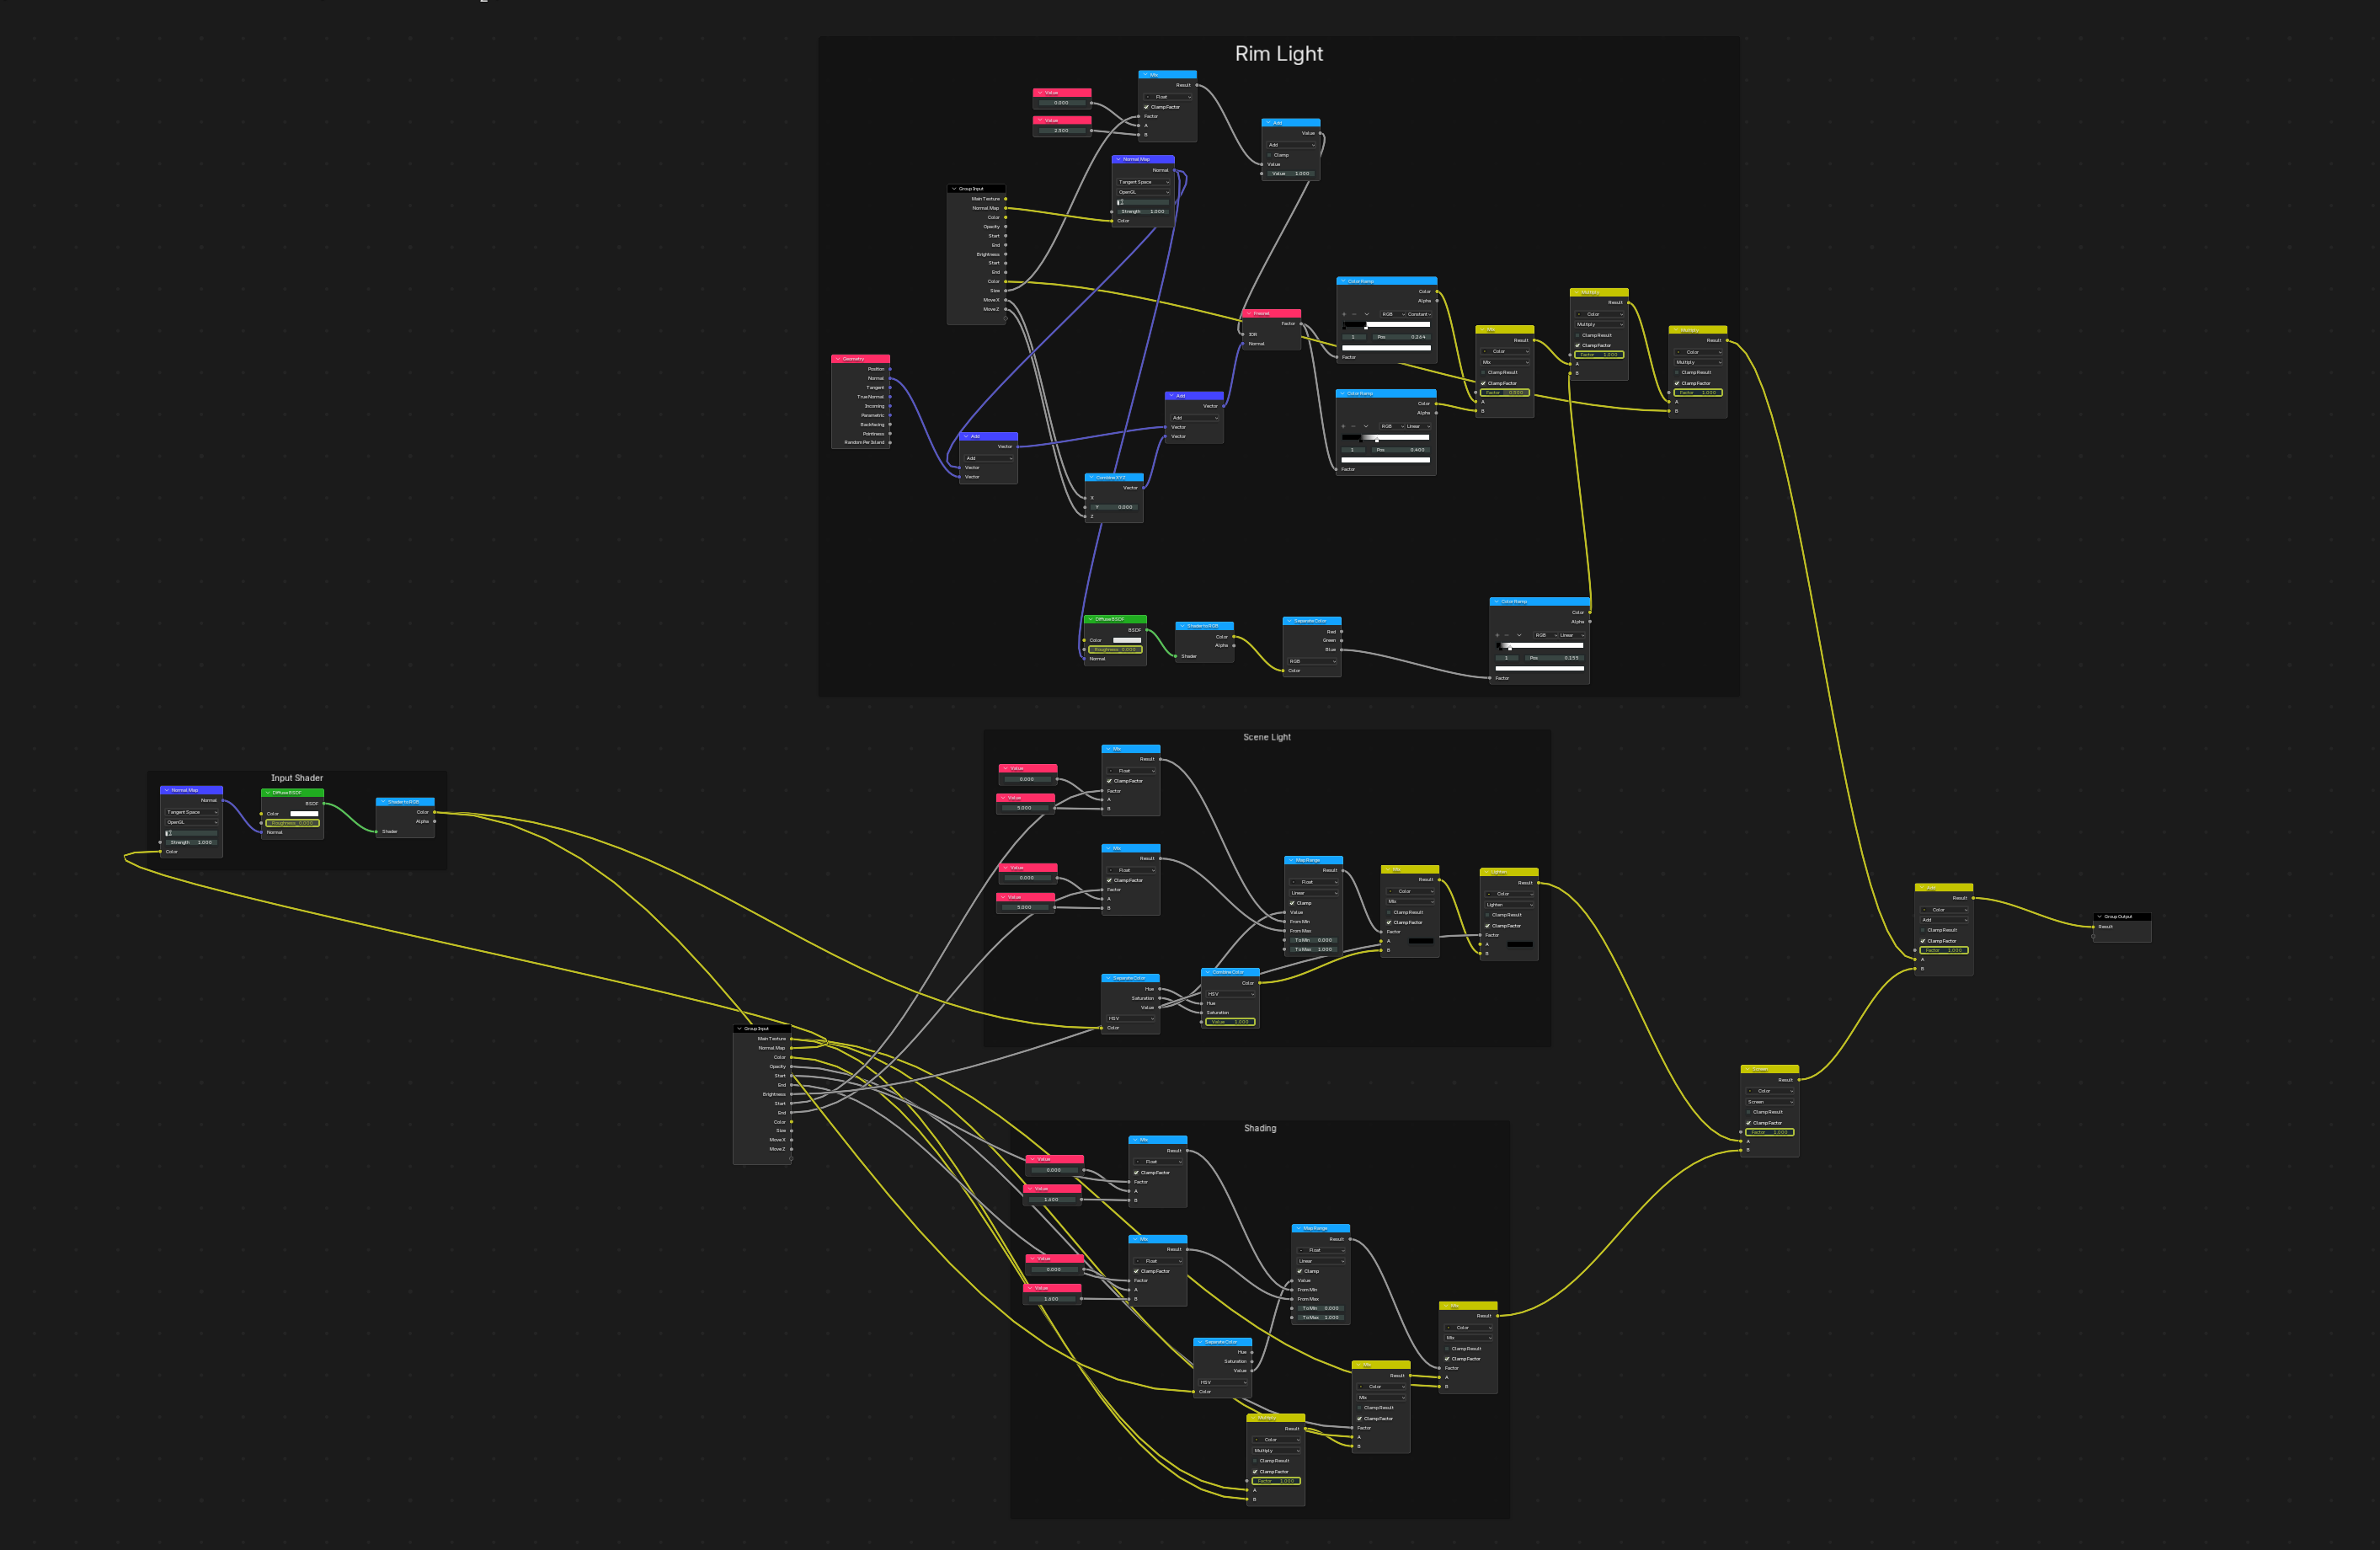
i decided to be a little fancy and make a "normal" texture too. i only really use it for the horns, the front of the snout and the belly nipples. basically what this allows you to do is fake extra detail that isn't actually there by affecting how the light reacts with these areas.
aaaand ta-da ! that's the model all done. yep. there's nothing more to do.
...
what do you mean i spent 5 more months working on this
rigging & weight painting
i uh, really struggled with this part. rigging wasn't actually that bad; at first i tried a few add-ons that "do it for you", but since half the reason i was here was to learn how to do this stuff it felt counter-productive. i watched a few tutorials, and then i made the entire skeleton for the model myself - once you know the basics, like how to name the bones so they get mirrored properly or what bones you need in the first place, there's not much to it.
the weight painting was a different story.
if you don't know what weight painting is, essentially you're telling each bone exactly how much influence it should have over each part of the mesh when moving. if you do it wrong, at best you end up with very unnatural looking bends near the joints, and at worst you'll be trying to figure out why moving the leg makes the character's nose shoot out into the sky.
blender has a feature that does the weight painting for you automatically when pairing the skeleton to the mesh. this works okay for humanoid models with organic anatomy - you still have to do a lot of work manually adjusting areas like the shoulders or hips, but it gives you a decent head start. but if you're working with a (partially) mechanical model, one with non-human anatomy like digitigrade legs, a snout and a tail, using automatic weights does more harm than good. i watched tutorial after tutorial, desperately trying to find ones that actually attempt to explain the basic concepts instead of giving you a hack to do it in 5 minutes that doesn't actually help or teach you anything. i kept trying to make the automatic weights work, adjusting and adjusting, resetting and starting from scratch every time i realized my approach wasn't going to work. it felt hopeless, and unfortunately for this one step none of my friends had any helpful advice - you just kind of have to get a feel for it.
i gave up, for now. the model sat in a near-finished state for months. i felt utterly defeated by what was expected of me at this point. weight painting is very difficult to learn because there's no learning curve - you either know how to do it or you don't, and up until the point it clicks you'll feel like you're not making any progress. turns out what i needed was some external motivation.
i started trying to get back into VR. i had fallen into a bit of a slump, isolating myself from my friends, not wanting to interact with anyone other than my owner - i could tell it wasn't good for me, and how much it was affecting my mental health. i find this kind of socializing very difficult, but i figured it'd be helpful to try joining my friends in VR again. it was really awkward at first, i couldn't help but feel like i was infringing on a space i wasn't wanted in, despite nobody doing anything to make me feel that way. it was tough at first, but as i kept joining every week it started getting easier, i started enjoying myself around others, i was having fun! the avatar i was using at the time was a possum base that i retextured to kind of look like my sona. it was a fun design, but it didn't quite feel like me. and as i started being more comfortable being myself around others, i wanted to look more like me, too. i remembered the model that sat on my solid state drive collecting digital dust, and i made it a goal in my mind to make it into an avatar within the next week, ready in time for the next meet i'd be joining.
avi, one of the friends i was hanging out with in vr, offered to show me how to set up my blender workspace so i can easily switch back and forth between a set pose and a t-pose preview, and i took her up on that. this was very helpful, as you wanna be weight painting while your character is in a neutral pose, but you can't really see whether the weight painting is working well unless the character is posed differently. this setup allowed me to experiment / iterate quickly. i gave up on trying to use any sort of automatic weights and all, i gave up on tutorials, and i started weight painting from scratch. selecting each bone, assigning it the vertices that it seemed like it should be able to affect based on my knowledge of anatomy. i focused on getting individual parts right before i'd move onto the next, and i started out with the easier ones before moving onto the tough parts like shoulders and hair. first i blocked out the general shape of weights for each bone, previewed it, then adjusted parts that didn't quite look right, previewed that, then adjusted again. this loop let me slowly crawl my way towards weights that looked okay, which was all i wanted.
in my mind it seemed like doing the weights by hoof would be an impossible task, like it would take months, like it was dumb to even try. i had them done in a week. turns out getting there eventually the hard way is faster than not getting there at all the easy way. i was so happy to finally have working weights. i could bend any part of my model in a way that seemed like it made sense, even if it was a little rough around the edges. it gave me the motivational boost i needed to finish the model.
unity
ok so, the model was now actually done, but that wasn't quite it for me. i wanted to turn it into a usable vrchat avatar. i had imported pre-made avatars into unity before, i already knew a lot of the process that'd be needed to get mine working, but there were still some other things i needed to learn to get this done. it was clear i wasn't gonna get this done in time for the next meetup, but i also didn't wanna join with my old avatar again, so i decided to skip this one to give myself another week.
unlike the stuff that i needed to learn to actually make a model, anything vrchat-related has a ton of fantastic tutorials made for it. i followed the official tutorial to set up my unity environment, then a few community tutorial made by other furries to get my avatar imported, bones mapped, constraints set to get the digitigrade legs working with a plantigrade base skeleton, to set up the cartoon shader. it took a lot of iterating, but at no point did i feel stuck with this and... i was able to get it working for the next meet!
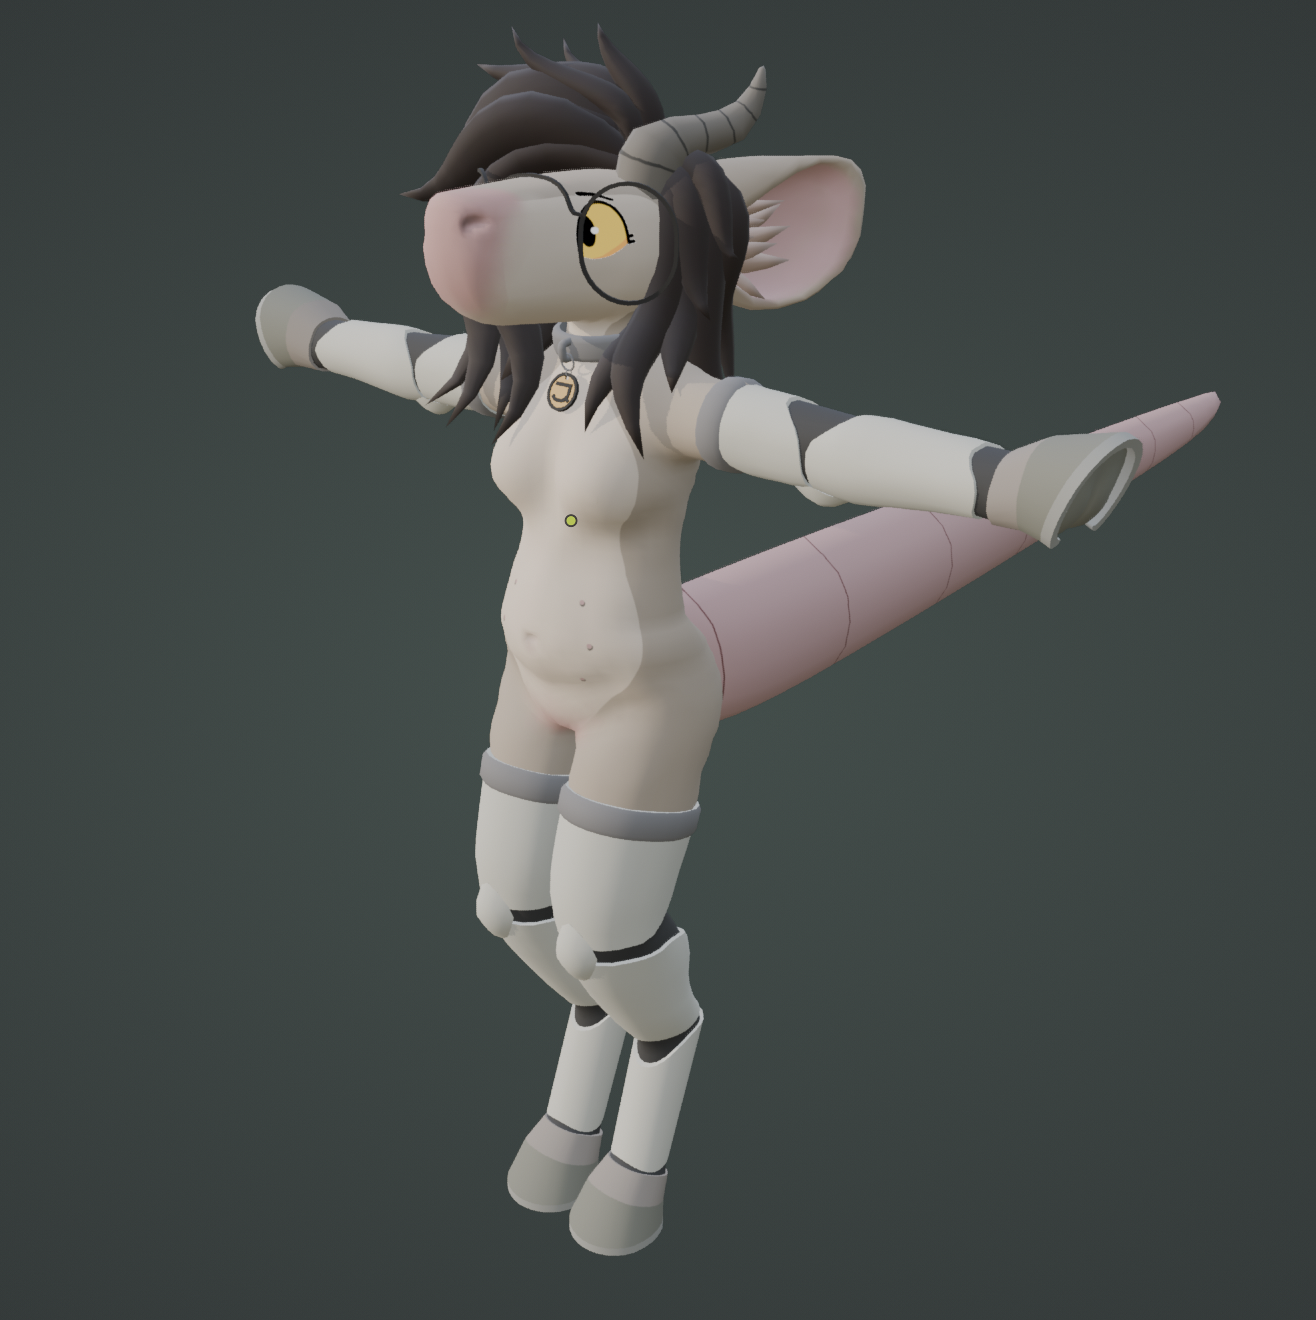
there was still a bunch i wanted to add, like blinking, expressions, extra animations, the glasses shader was a little broken, there were a few weight painting glitches that needed to be addressed, but ... i got to be me !!
i cannot describe the amount of joy i felt seeing myself in a mirror, with my big ass snout, my silly hooves, my huge tail. i looked down and saw more of the same, just, my body exactly as i imagine it, exactly as i see myself in my mind. it was all so worth it, if just for this feeling.
finishing touches
it's really nice to get to be me when i hang out with my friends in VR. others' responses to seeing the model also made me very happy, it's really nice to have all the work i put in appreciated. between the next few VR meetups i fixed the shaders and other issues the model had, plus i added stuff like blinking, expressions, fortnite default dance and some other minor stuff.
the vrchat avatar was done, but i didn't really have a way to show the model off online. the shader configuration i set up in unity with cel shading and outlines was essential to the model's look, but i didn't have any of that in blender. my unity knowledge is very limited, i def don't feel like i know enough to pose the character in it how i'd like, set up the lighting, then render all that somehow. so i was faced with a choice: either somehow make the blender version of the model look like the unity one, or learn all that stuff in unity.
for the vrchat version, i just used poiyomi toon shader - a free, pre-made and easily configurable cel shader. i basically just slapped it into the avatar and configured the settings how i liked, i didn't have to do anything crazy or complicated. i figured surely, there must be something like that for blender, right?
nope.
as far as i could find, not only does blender not have a built-in cel shader (idk this seems like a very basic thing to have in a program like that??), but there's also no simple cel shaders available online? i looked into this a lot, but eventually i resorted to making my own shader to mimic the appearance of the one i have in unity.
i followed a lot of tutorials to put this together and it's not pretty but it works and that's like all i needed. i initially wanted to make a little 3d scene to show the model off, but i kept putting it off, and i really didn't wanna delay showing the model off for longer, so i ended up just making a simple scene of pebble sitting on a rotating default cube, which honestly was the right call imo. aaaand that's pretty much it!
i wish i could say i feel accomplished having finished such a large project and having learned a lot from it, but honestly i just feel kinda relieved it's done and that i don't have to worry about working on it anymore. apparently this is a common thing with adhd, where u don't really get to feel a sense of accomplishment after finishing something. surely the next big thing i work on is gonna be the thing that makes me feel like i'm enough
extras
that's about it! thank u for reading through my blog post, let me know ur thoughts if u have any. here are some extra pics / videos that i didn't feel like fit elsewhere.
comments
press "sign-in" to add your name - no login needed!